Sunday, March 30, 2014

"I'm All Ears" Paper Wizard Disney Page


Earlier today, Paper Wizard announced a giveaway on its FaceBook page. Check it out here. For the first 12 people who post a newly made scrapbook page/layout to their FaceBook would receive a ticket to the selling floor of a Scrapbook Expo show of your choice. Scrapbook Expo is here in April so I jumped on it and made another page for my 2011 Disney album. The whole album is being created using Mosaic Moments.

I only had a few pics of us wearing Mickey Mouse ears so I scrapbooked this very differently than I usually do. It's a lot more busy looking but I love it! Can't always stay in the box....


The inspiration for this layout was the cute pics I took of my son in his stitched Mickey ears. I bought the Paper Wizard title to help exemplify both my children's new obsession with Disney! Here's a closeup of the 9-layer title.

Supplies:
  • Paper Wizard title - I'm All Ears
  • Mosaic Moments - White grid paper
  • Marvy Punch - 3" square punch
  • EK Success - Disney speciality paper: red/beige stars, Mickey paper with clouds and the blue star border
  • Simple Stories:
    • Say Cheese Simple Basics Kit: Yellow dots/stripes cardstock, bingo cards/stars
    • Say Cheese Fundamentals Cardstock Stickers: Family Fun Documented, Arrow, Photo Op, camera banner piece, I love this, Smiles from Ear to Ear, black heart, black polka dot border, red polka dot scalloped border
    • Say Cheese: blue film strip cardstock
  • Adhesives: Scotch ATG, Glossy Accents, Zots, The Paper studio foam adhesive, Xyron
  • Zig millennium pen
Wish me luck!!

La-Vie

To view more of my Disney pages check out these links:

Monday, March 17, 2014

St. Patrick's Day ATC


Happy St. Patrick's Day!! 

This weekend I went to Heirloom's Allentown Rubber Stamp & Paper Arts Festival. They ran an Artist Trading Card (ATC) challenge with a Luck of the Irish theme. Here's my entry.


The ATC card is from Inkessentials. I ran it through my xyron machine face down to make the front of the card sticky. I then applied 2 types of washi tape to create the grass and sky. The focal die cut, layers and shamrock can be found on the Create a Critter 2 Cricut cart. The sentiment is from Stampin' Up! and the google eyes were from my stash.

I hope you enjoyed the holiday and this quick post!

La-Vie

Challenges:


Tuesday, March 11, 2014

Princess Wall Art - Word Collage


I was glad to catch an hour in my craft room today! I made some wall decor for my 9-year-old daughter's room using the Word Collage Cricut cart. The flourishes at the top and bottom are decorative brackets from the American Alphabet cart in my E2.


Supplies:

  • Word Collage - Princess cut @11.5"
  • American alphabet - font 3: bracket cut at 9.5"
  • Vinyl - dark purple from Oh My Crafts and light purple from Cricut
  • Cricut transfer tape


I hope you enjoyed my quick post today! It sure made one little girl happy!

La-Vie

Challenges:

  • TBD


Friday, March 7, 2014

Vote for My Husband Doc Beast on Fit or Flop!!!


This is my husband Dr. William Borde-Perry. He's an ER physician and BeachBody fitness coach extraordinaire! His motto has been that he wants to help everyone get fit. Well now he has a real chance! Right now he's in the second round of Fit or Flop season III competing to be America's next fitness star. When he wins (with your help) he will get $10K to produce his workout DVD and get it out to the masses.


To help him, please go register and vote once daily here!!

Please note that you will need to register by inputting your name, email and password the first time you vote. The second time you vote, you will need to verify your email address through a link they will send in email (so they know you're not a computer voting). Thereafter you can vote each day in March and catapult my dear hubby to the #1 spot and into the next round of this awesome competition. Remember you can vote from any computer or mobile device as well!

Here are some highlights from the taping last November. There was a lot of waiting. Here are the kids doing just that!


But it was solo worth it because my husband went in with a winning attitude and a winning concept!

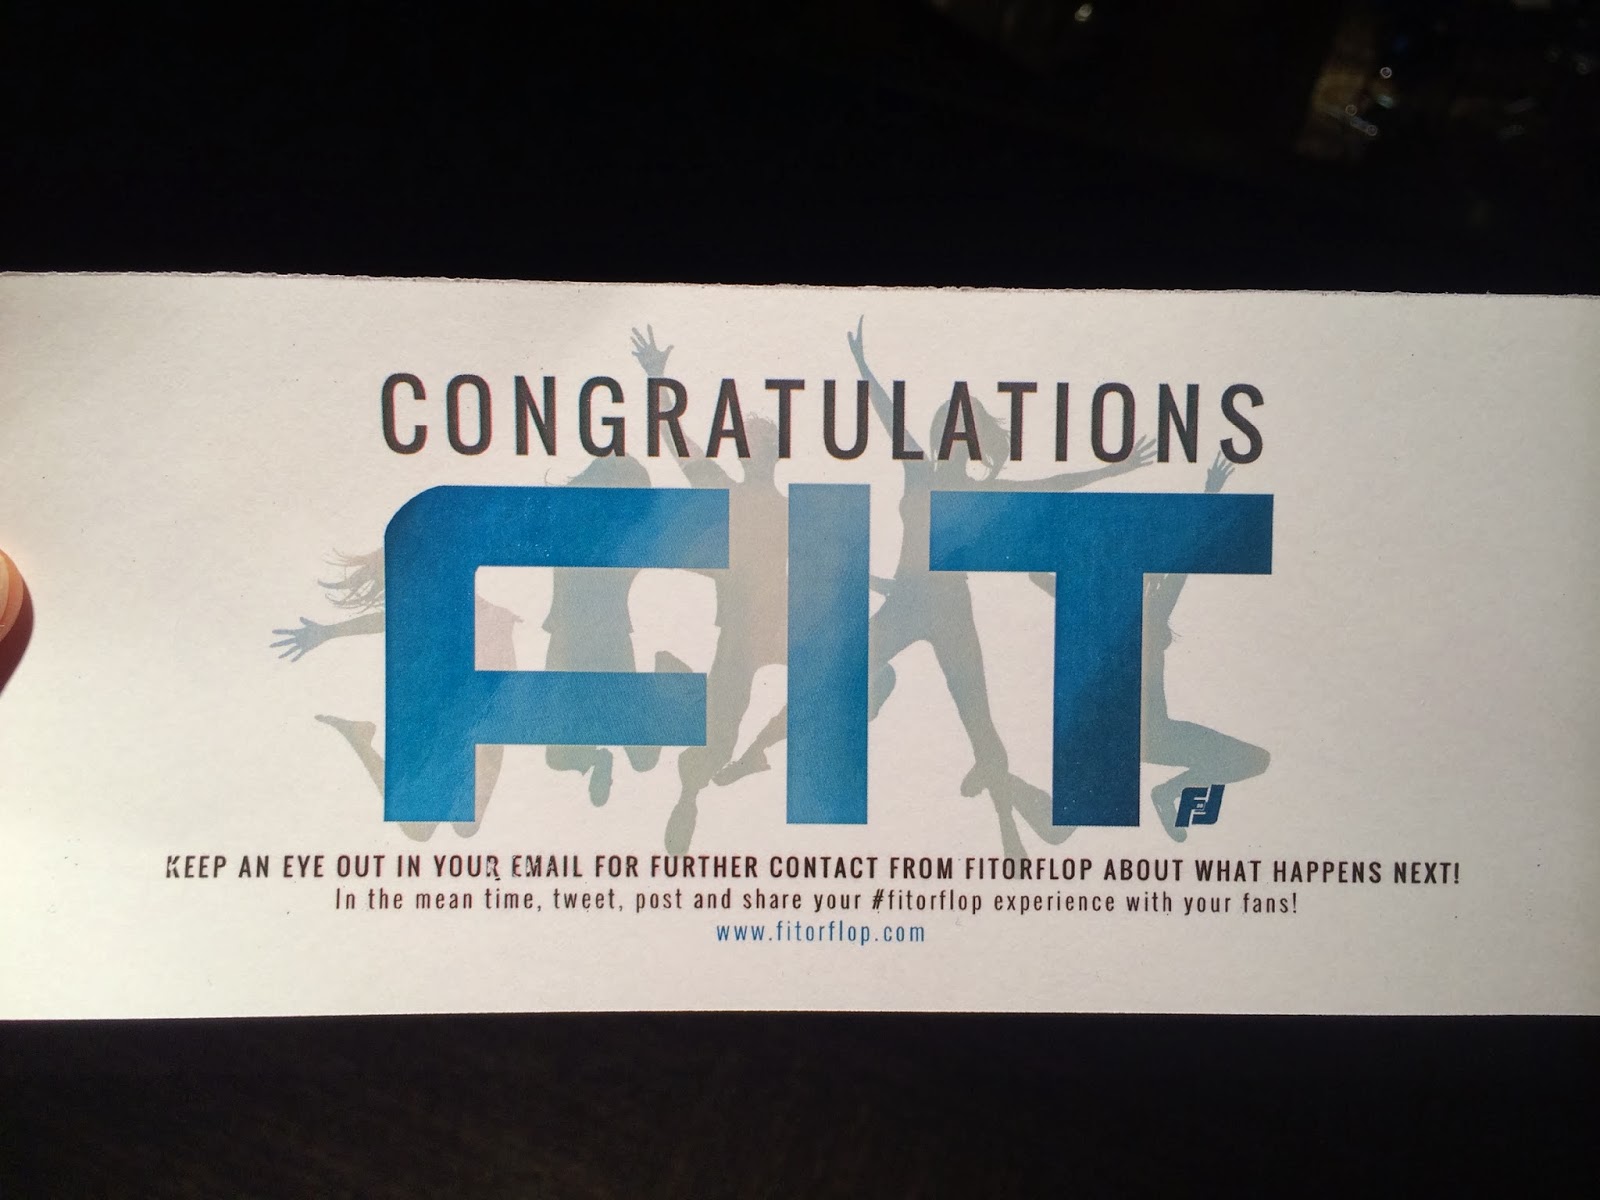
It's official!!!
He was voted Fit from two out of three judges and therefore moved on in the competition!


We were so glad to be there to support him and to share in the excitement and joy of the moment!


Thanks for your support!! You're helping to make my hubby's dreams come true!

La-Vie 


Thursday, March 6, 2014

Teacher Appreciation - Vinyl Decorated Reusable Cups


After watching Joy's video from Obsessed with Scrapbooking on YouTube, I started collecting these cups every now and again from Dollar tree in the hopes to embellish them for teacher appreciation week. Thanks for the inspiration Joy Tracey!!


Supplies:

  • Cups - Dollar Tree
  • Vinyl - Oh My Crafts!
  • Top note - CTMH Art Philosophy cart and layer cut at 3.5" relative size
  • Polka dots - Cricut Essential cart (in E2) - .75", 1', 1.25" real dial size
  • Vinyl Kiss cut on E2 - blade set to 1, speed 3, depth 3, multi-cut 1
  • Monogram - CTMH Artbooking cart - font cut at 1.75" real dial size
  • Cricut transfer tape
  • 12x24 cricut mats

I've gotten a jump start on them but need YOUR HELP!! I plan on making tag cards to attach with ribbon to the straw but what should I put inside?? I have some easter grass for the bottom but wondered if I should put in one of the following:

  1. chocolate kisses
  2. drink mix sticks (those individual ones you add to water to make a beverage)
  3. a gift card
  4. something else??
Please let me know your best guess at what teachers would love for a small appreciation gift this year. I'll update you when the votes are tallied and the cups are complete. Who knows? I might give a prize to one lucky commenter... you never know... so stay tuned.

Thanks!!

La-Vie

Wednesday, March 5, 2014

Playing with my Viva Decor Pearl Pens - Play Football Tag


I'm back with another tag today. While I have owned several colors of pearl pen for a couple of years I have never tried it until now!! I tell you, 2014 is it! I am going to try out all the things I am hoarding in this craft room! I made the pearls on a craft sheet this time but I am strong enough with it now to make it right on my next project.

I made several of this tag for an all-boy swap.  I figured most boys are into sports at some point. I hoping my son doesn't play football but I figured hey... it's one of America's favorite pastimes.


Supplies:

  • Bazzill cardstock
  • xyron
  • cuttlebug tiny mosaics embossing folder
  • football tag cut at 3.75" relative size Wrap it Up Cricut cart
  • Play cut at 1.75" real dial size Graphically Speaking cart from recollections kraft cardstock inked with vintage photo distress ink
  • twine from stash
  • American crafts ribbon
  • Viva Decor Bronze Pearl Pen
  • Recollections bling - diamond cut pattern
  • Glossy Accents by Inkessentials

I have two versions of this tag, one with the pearl pen and another with bling. Another with ribbon straight up and another with ribbon tied to the side. Which features do you prefer?


Here's all the tags. I love making multiples. Once I have my game plan, I am like a machine.


I hope you enjoyed my swap tags. I cannot wait to see what the other participants made. I'll update you asap.


La-Vie

Challenges:


Tuesday, March 4, 2014

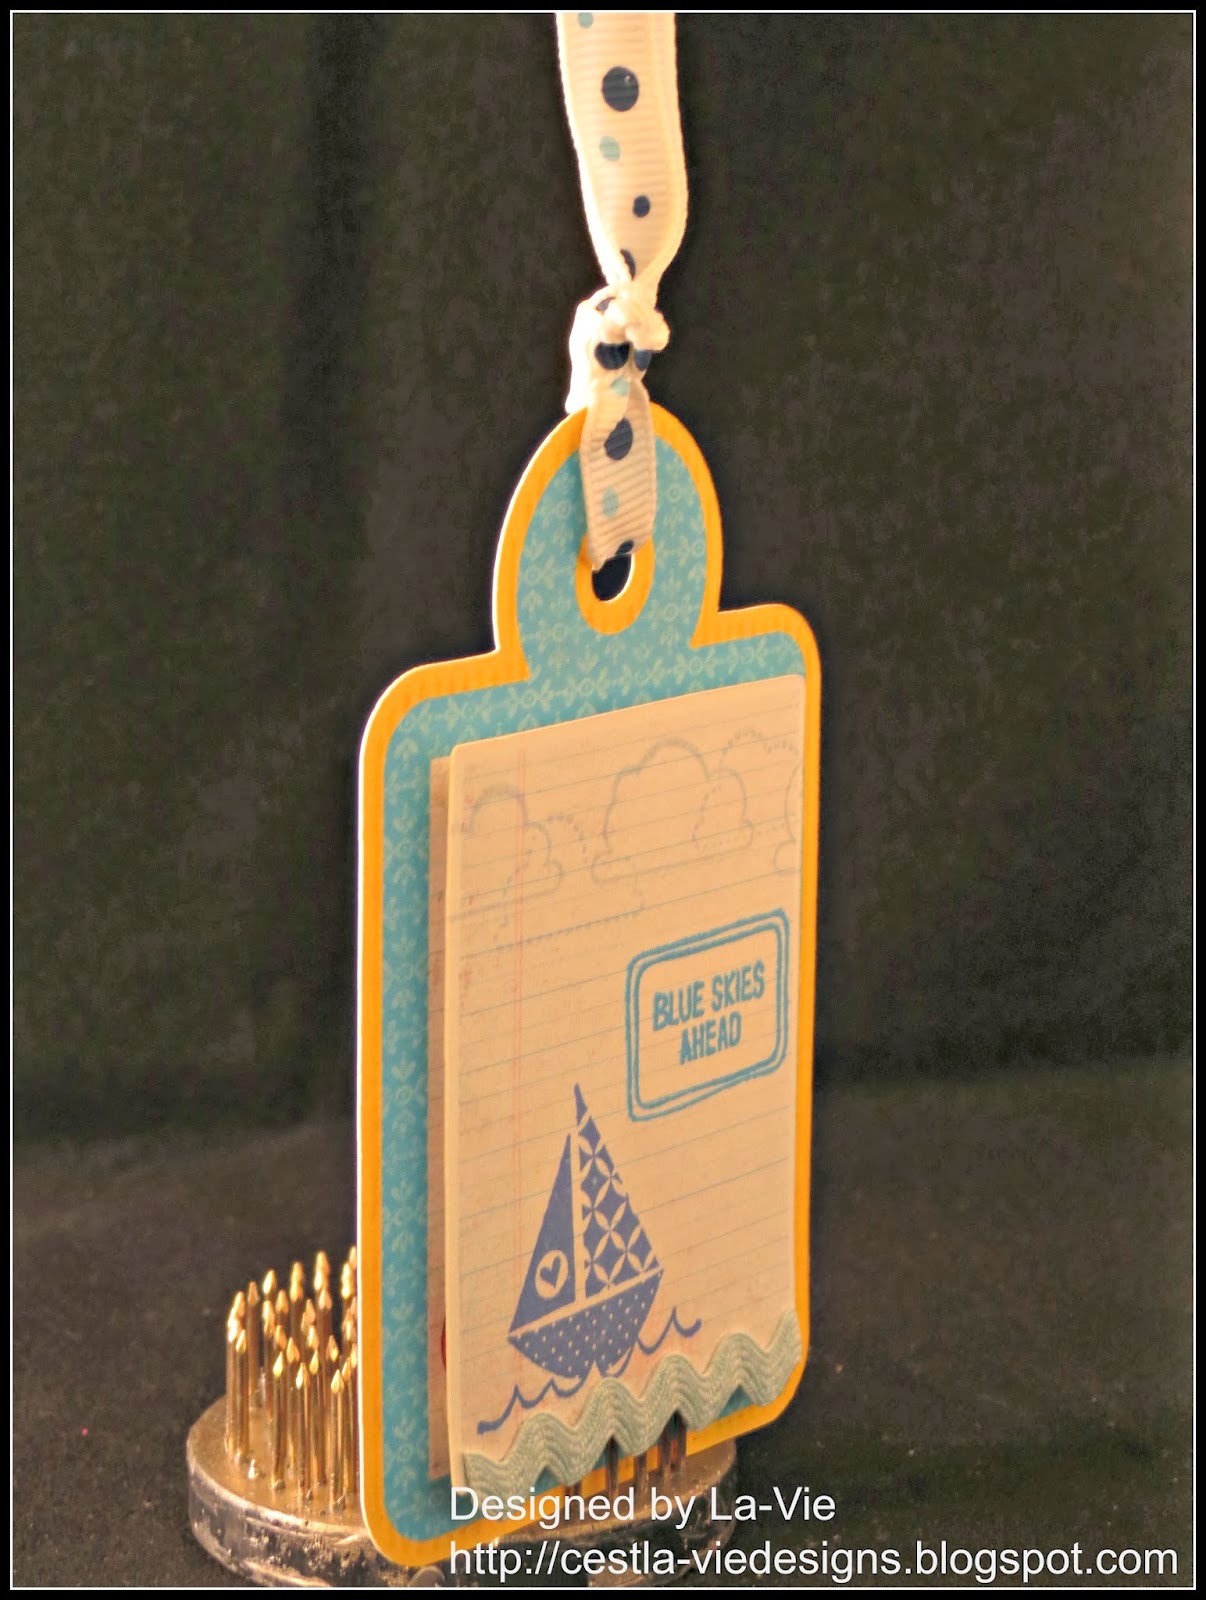
Blue Skies Ahead!


I had another swap-ortunity lately! Wink...wink! This time it was a boy-related tag swap. I decided to make a 3D rage cuz I'm really starting to get into the boy theme. I'm gearing up to continue scrapbooking the precious moments of my 5 year old son's life. 


This tag was printed and cut on the Cricut Imagine machine. I didn't think the image on the tag was manly enough so I decided to layer the top and create my own stamped scene. I'm very happy with the results.


Supplies:
  • Tag print and cut from Cricut Imagine - Imagine More cart at 4"
  • Notebook paper layer print and cut at 4"
  • Bazzill basic white cardstock
  • Boat stamp - Recollections - Memento Ink: Danube Blue
  • Blue Skies stamp - Inkadinkado: Road Trip - Memento Ink: Bahama Blue
  • Clouds border stamp - Recollections: Fun Borders - Memento Ink: Summer Sky
  • Recollections Foam tape
  • Jolee's Boutique red, white and blue ribbon
  • Queen and Co. blue and white ribbon
  • Martha Stewart ric rac ribbon
  • Xyron

Thanks for stopping by! Tell me, do you find it easy to make multiples of the same design?

La-Vie

Challenges:


Monday, March 3, 2014

XOXO Gap Card


As a part of the Just Us Crafty Girls craft group on Facebook I participated in a Gap Card swap for Valentine's Day. The hostess was also participating in the swap so I created two versions of the card so that she wouldn't have 2 of the same (because hostess gets one set of the swap cards regardless). There's a wealth of tutorials on this card and many others at a blog called Beccy's Place.


I'm really fond of washi tape these days! I applied 3 different patterns (polka dot, pink solid and red patterned) on the edge of the card. It helped to apply scotch ATG adhesive where the ends of the tape lay to make sure they don't curl off of the card (can't stand that!!).

Supplies:
  • DCWV card stacks: parchment, speckled, DCWV patterned paper: 12x12 Sweetheart
  • XOXO - Cricut American Alphabet cut at 1.25" real dial size
  • Washi Tape from Anna Griffin and Recollections - 3 different widths and patterns 
  • Tim Holtz Distress Ink and Applicator Festive Berries
  • Zots Glue dots - bling
  • Scotch ATG

Which do you like the best? The vertical or the horizontal version? I hope you enjoyed this post and will come back soon to see more of my creations. Thanks!

La-Vie

Challenges:


Sunday, March 2, 2014

15th Anniversary Card


A close friend asked me to make a custom 15th anniversary card for her husband and here's a sneak peek at what I whipped up in my 3 fav wedding colors - sliver, black and white.  I used cardstock from DCWV A formal Affair stack, Bazzill basics white cardstock, patterned paper called silver anniversary words from Flair Designs and flowers from Recollections. Although my camera didn't catch it, I spritzed the couple Psst! Sheer Shimmer Spritz in frost by Tsukineko to give them a silvery frosty look.


I started by finding out what my friend wanted to say in her own words and using a quote from my go to resource - The Ultimate Guide to The Perfect Card by Linda LaTourelle - to go along with it. Then I laid it out in Word, chose the perfect font and printed it to make sure it was aligned properly. 

I then cut my card base to 8 1/2 x 11" and ran it through my printer so that the text would print on the white side (inside of my card). This was a 'hit it and quit it' sort of project so that's a tip for ya if you're in a hurry. Print right to the card base instead of making it a separate layer.


Here's the final product in all its glory!


Supplies:

  • DCWV - Formal Affair Stack
  • Flair Designs - Silver Anniversary words (paper)
  • Bazzill - basics white cardstock
  • Recollection - silver dimensional flowers
  • Bride and groom cut at 5" from Wedding solutions Cricut cart
  • Top note and shadow - cut at 5.75" and 6" from Art Philosophy p.37
  • silver metallic ribbon from my stash
  • Adhesives - foam tape, scotch ATG, Zots glue dots


I hope you enjoyed this quick post! I'd love to hear your comments for the happy couple (aren't they cute?!) and about the card of course!! Thanks!


Challenges:


La-Vie

Saturday, March 1, 2014

March Crafts Galore Encore challenge - Add a stamped image or Digi


I can't believe it's March already!! But you know that means... it's time for another Crafts Galore Encore monthly challenge. This time we are challenging you to add a stamped image or digi to your project. Ready....set....go!!!

Our sponsor Glamoureyes  and they will award the winner 5 digis and a surprise clear stamps.


I created superhero ATCs for a swap and thought it would be a perfect example for you. These were very challenging as I am new to Copic coloring. But I pulled an all-nighter and practiced and practiced to get it just right! The image is from La La Land stamps and the superhero papers and rub-ons are from Close to My Heart.


Supplies:
  • 12 Ranger Inkessentials manilla ATC cards
  • Close to My Heart - Superhero X7152B (double-sided cardstock), Superhero compliments X7152C rub-ons
  • Xyron 2.5" Create-a-Sticker
  • Neenah solar white cardstock
  • Tuxedo Black Memento Ink
  • La-La Land Crafts - Luka superhero stamp colored with Copics
    • African-American skin - E21, E11, E00 -- Hair: E35, E37, E57, E29
    • Caucasian Skin - E11, E13, E15 -- Hair: E33, E35, E37, E29
    • Cape/Star - Y15, Y04, YR07
    • Shirt/Mask - R29, R59
    • Pin/Circle - C3, C5, C1
    • Boots - E35, E37, E29 -- Rim: C3, C5
  • 12 Action wobbles
  • Uniball signo broad white pen
Here's a close up of my favorites. The first will be used on a project for my son, so I made him African-American skin tone. I LOVE how it came out. I used a Uniball Signo white pen (best on the market!!) to whiten the eyes.


I hope you enjoyed this post and will join in on the challenge!

Challenges:


La-Vie