Friday, December 4, 2015

I've started coloring again - December color challenge!


It's been a long time, but I've started coloring again by participating in the December color challenge at 50 Shades of Color Facebook Group. This quick post will show you my first three days of work. I'm inspired and happy to dedicate myself to coloring each day. It's actually great me time and bonding time with my 10-yr old daughter. She is coloring along with me.


On Day 1 I colored this quote which is approx. 8 1/2" x 9.5" using wink of stella pens and brush markers.


Here's a better shot of the glittery goodness of Wink of Stella.


My daughter colored this cute bird! She did a great job!


Day 2 was a much smaller selection. This card is slightly larger than an ATC. I decided to use Tim Holtz Distress Markers.


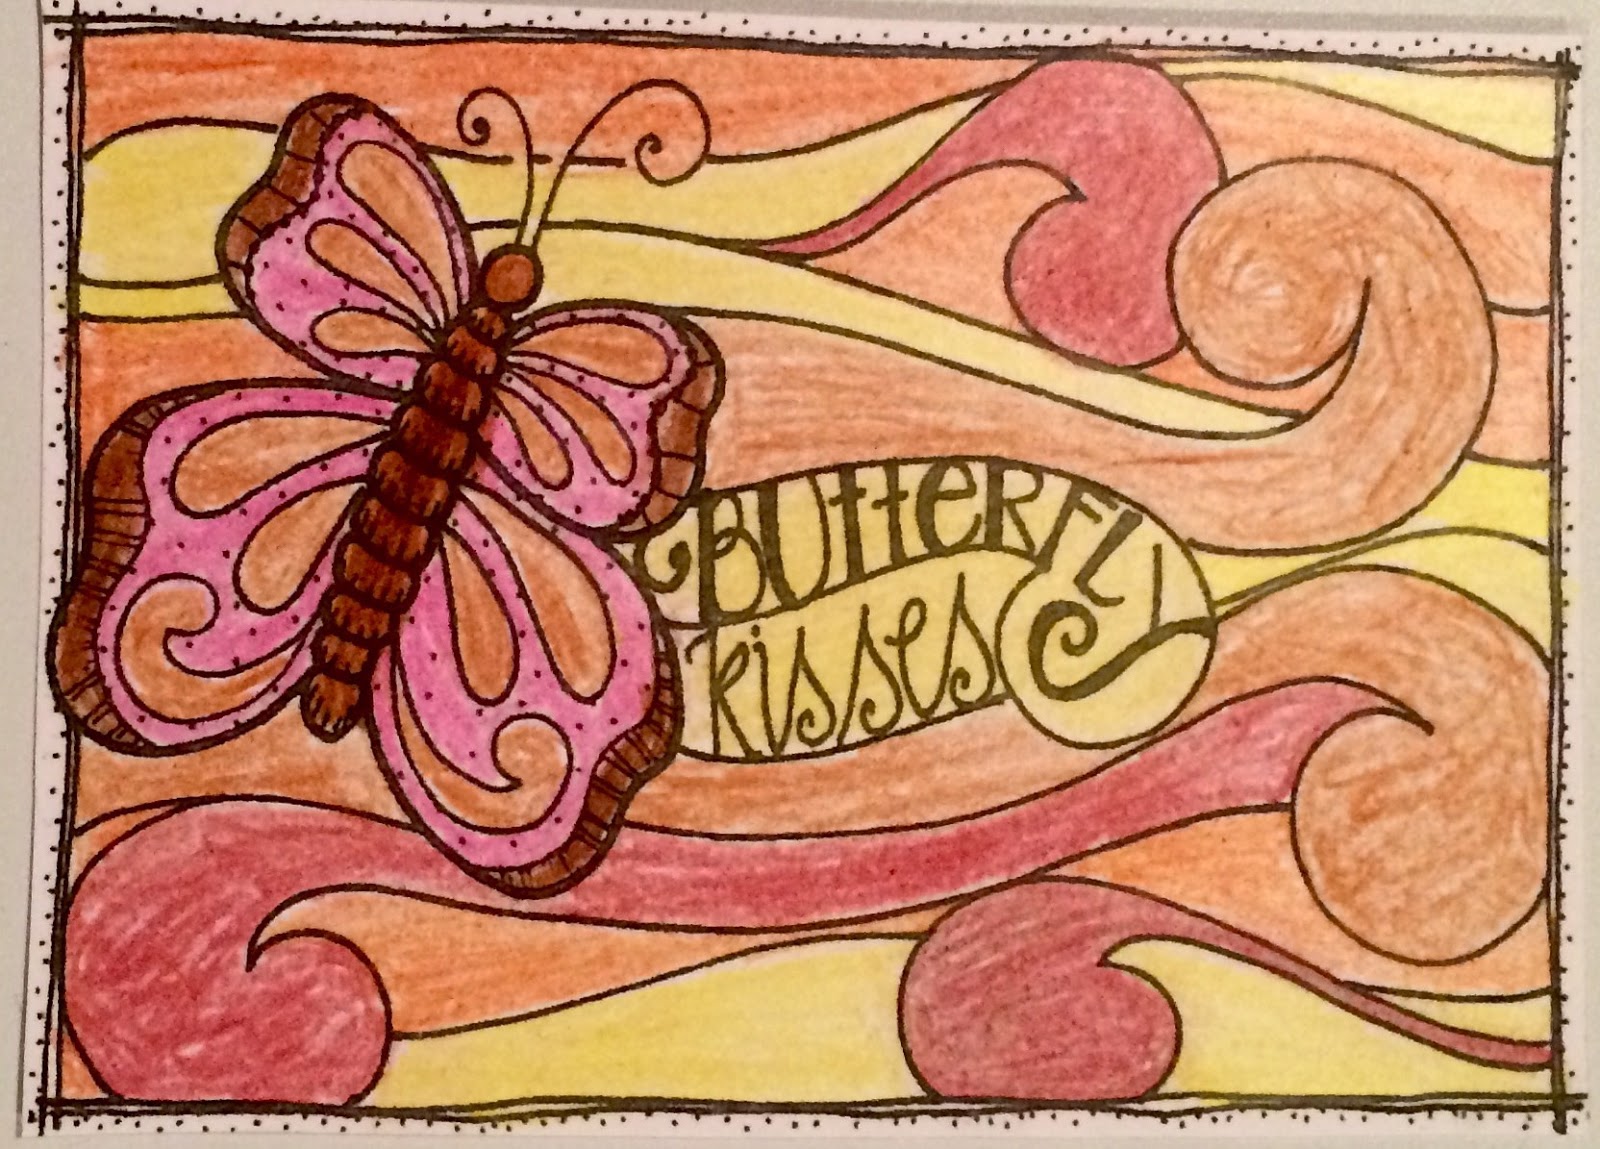
On the third day of coloring my true love gave to me..... nah just kidding! But I did use prima and Lowe -Cornell watercolor pencils (without using water).


And of the fourth day (today) I colored this quote using Zig clean color real brush pens. It's 4" x 6" in size. This quote is SO true... so true. I had to learn this with the passing of my mom. I am walking in faith. Grieving is a day to day process.


Thanks for stopping by!


Thursday, September 3, 2015

Crafting Hiatus


As you may have noticed I have not been blogging and sharing my crafty creations in the last month. Unfortunately my mom passed away suddenly in late July. I am taking time off to grieve. I hope you won't forget about me in my absence. However, I am not sure when I will return to the crafts I love.

Diane Borde-Barzey 1952-2015

La-Vie

Saturday, August 1, 2015

Lil Patch of Crafty Friends - Challenge 15: Anything Goes!


It's the start of another (always) anything goes challenge at the Lil Patch of Crafty Friends challenge blog.  I hope you'll enter up to 3 entries. But guess what? You now can enter an unlimited number of other challenges! I can't wait to see what you create!

There's three sponsors for this bi-weekly challenge. They're offering some great prizes!

Faery Ink -  Prize: 3 Images


 Bugaboo Stamps - Prize: 7 Images 


Imagine That! Digis...by Kris - Prize: $10 Gift Certificate
************************************************************
I chose Bugaboo Stamps - Chibi Elsa to design with. Frozen has been the most epic Disney movie in recent times. I figured I could present you with a little "let it go" action - the movie's most popular song. 


I've had the most trouble wrapping my head around water coloring. I have watched many videos of people enjoying the randomness and such. I have tried a few times to no avail. But I am much too regimented and don't enjoy that look. 


Last week I watched a YouTube video by Jenny McGuire using a Wink of Stella clear pen instead of water on a brush to blend colored pencils. It looked easy and was more controlled. That inspired me to challenge myself to give it another try using my new set of water color pencils by Prima Marketing and Wink of Stella to color Chibi Elsa. 

Wow! I really love the results. I have a way to go in terms of determining how much color and how much water etc. But I really think I have found a way to incorporate water coloring into my repertoire. The best thing I learned is to use a water brush for any skin. The shimmer from the Wink of Stella makes faces look dirty and weird.


Supplies:
  • Digital stamp - Chibi Elsa by Bugaboo Stamps
  • 5x7” card base (stash)
  • Tim Holtz - distressed water color cardstock, stormy sky distress ink
  • EZ Runner - scrapbook adhesives
  • Xyron cheetah 2 adhesive
  • layered snowflakes - La Petites by The paper Studio
  • Epoxy snowflake - Recollections
  • Fine point water brush (stash)
  • White glitter font chipboard stickers - Thickers by American crafts
  • Snowflake punch around the page - Martha Stewart
  • Wink of Stella clear brush pen
  • Snowflake patterned paper - O Christmas Tree by Recollections
  • Prima watercolor pencils - 03, 88, 89, 107, 114
  • Loew-cornell water color pencils - magenta, cerulean blue, medium blue


Challenges:

Please follow me on social media and help spread the word about me.
Pinterest

Monday, July 27, 2015

Christmas in July - Christmas Greetings Dazzles Ornament


It's Christmas in July! I love these flat ornaments from Hobby Lobby. You can do so much with the surface. I decided to glitter the inside and apply Hot off the Press - North Pole Village Dazzles to both sides. A bit of American Crafts ribbon listing all the reindeer names completes the look! Simple, yet stunning!


For the rest of the month, I'll share more ornaments I embellished. Please come check them out!


Challenges:

Please follow me on social media and help spread the word about me.
Pinterest

Saturday, July 25, 2015

Christmas in July Blog Hop - Day 2: Ornament Wreath


Welcome to Day 2 (of 2) of the Christmas in July Blog Hop!! 


Get ready for some great ideas that you can start creating now for Christmas. Along the way today, you'll find card and gift ideas, a scrapbook layout page or two and even a couple great decorating ideas.  We hope this hop gets you in the holiday spirit a little early this year. 

We'd like to say a HUGE THANKS to our sponsor Debra Groh

 Please email Debra with your order to receive the proper discount.

She's giving away an awesome prize pack (pictured below). All you have to do to win this fabulous prize is comment on each of the blogs. That's it! It really is easy.  Of course, we would love it if you became a follower too. Comment buttons can be found at the bottom of the post (on most of the blogs).

This great prize package includes: Whisper White & Calypso Coral card stock, Washi Tape trio, Versa Mark Ink Pad, the Mosaic & Large Flowers Punches.

For a chance to win EXTRA blog candy, follow me here (via GFC or bloglovin) and on all my social media outlets (links below). Each verified follow will earn you an extra entry. Please leave me one comment with a nice comment on my work as well as all your user names for these social media outlets. I will check to see if you remembered to follow me. Only verified entires will be counted.


I will gift a "Sharon" 12x12 Bloom Girl stencil by Prima Marketing as pictured here.

Now on with the hop! You should have arrived here from Robin's blog. But if you haven't and would like to start at the beginning please click here
******************************************************************************************************************
This wreath was something on my crafty to do list since last Christmas. I put aside a package of red plastic ornaments from Walmart and a flexible garland with a 12 inch wreath form. As I was preparing for this hop, I took a trip to Hobby Lobby to see what they had on sale that could accent my wreath. They had the Merry Christmas signs and extra garland. Then it was off to the races!


I used a glue gun on the low setting to attach the garland to the wreath. Then I applied the ornaments in the center. I glued them to the wreath and to each other. Then I did the same around the outer edge and filled in with  medium sized and small ornaments. Finally I added the bow and the Merry Christmas. The last step was to fill in all the holes with garland cut into 2 inch pieces and to glue down a long piece across the back of the wreath so that none of the wreath form shows.

I love how it turned out but I will NOT be making another one any time soon! LOL. Thanks for hopping by!
Your next stop is Aisha's blog!


Challenges:

Here is today's hop line-up in case you get lost along the way.

Card A Day Challenge Blog ~ http://cardadaychallenge.blogspot.com

Friday, July 24, 2015

Christmas in July Blog Hop - Day 1: "Innies" Ornaments


Welcome to Day 1 (of 2) of the Christmas in July Blog Hop!! 


Get ready for some great ideas that you can start creating now for Christmas. Along the way today, you'll find card and gift ideas, a scrapbook layout page or two and even a couple great decorating ideas.  We hope this hop gets you in the holiday spirit a little early this year. 

We'd like to say a HUGE THANKS to our sponsor Debra Groh

 Please email Debra with your order to receive the proper discount.

She's giving away an awesome prize pack (pictured below). All you have to do to win this fabulous prize is comment on each of the blogs. That's it! It really is easy.  Of course, we would love it if you became a follower too. Comment buttons can be found at the bottom of the post (on most of the blogs).

This great prize package includes: Whisper White & Calypso Coral card stock, Washi Tape trio, Versa Mark Ink Pad, the Mosaic & Large Flowers Punches.

For a chance to win EXTRA blog candy, follow me here (via GFC or bloglovin) and on all my social media outlets (links below). Each verified follow will earn you an extra entry. Please leave me one comment with a nice comment on my work as well as all your user names for these social media outlets. I will check to see if you remembered to follow me. Only verified entires will be counted.


I will gift a "Sharon" 12x12 Bloom Girl stencil by Prima Marketing as pictured here.

Now on with the hop! You should have arrived here from Robin's blog. But if you haven't and would like to start at the beginning please click here
*************************************************************************************

I am truly obsessed with outline stickers. There's so many ways to create a wow card with them. My favorite brand is Elizabeth Crafts peel-off stickers. The project I have for you today uses Jackie's Christmas Dolls  with a twist. I have taken my obsession to 3D projects! I already used the actual peel-off. These ornaments were made using the "innies" or what is left over once the peel-off is removed!! These stickers are inexpensive an it makes it so much more affordable when you can use very single piece of the sheet. No sticker left behind!! That's what I always say....LOL.

The surface of the ornament is smaller than the peel-off so I traced the ornament face on a piece of transfer tape and cut it out. I placed the cut out on top of the sticker sheet and trimmed the sticker to fit. I peeled off the transfer tape from the backing and heavily burnished the innies design using a bone folder. Then I lifted the design from the backing sheet as one unit. Then I applied it to the flat faced ornaments from Walmart (also seen at Hobby Lobby). Since the ornament is pliable, I burnished with my fingernail until I could remove the transfer tape leaving the design on the ornament. If any overhangs, just stick it down over the edge of the ornament face.


Each ornament is filled with different items. The top one is filled with glitter spiral floral decorating sticks. I trimmed the spiral part off and pushed it into the ball. The other two were glittered on the inside using glitter it and craft glitter. My favorite is the silver glitter by Stickles. They have dry glitter in all the colors that they have in the regular glitter glue. It's not see through like the american crafts glitter (see pink ornament). All were adorned with Christmas ribbon from American Crafts. 


I just love how they came out and it was such as easy application for the wow factor. I cannot wait to see how these will look on the tree. Thanks for hopping by! Come back tomorrow for a brand new project from me!

Your next stop is Anna's blog!


Challenges:

Here is today's hop line-up in case you get lost along the way.

Card A Day Challenge Blog ~ http://cardadaychallenge.blogspot.com

Be sure to hop tomorrow too for even more great holiday projects and ideas. 
You can start tomorrow at Theresa's blog

Christmas in July - Tim Holtz Distress Glitter Wooden Ornaments


It's Christmas in July! I have three ornaments (4 views) for you today. I had some wooden ornaments in my stash from Hobby Lobby. They were light colored wood ready to be embellished. I dreamed of coating them with Tim Holtz products for many months and finally got it done!  


The first two ornaments were colored using spray Distress Stain in Peacock feathers and Picked Raspberry. After it dried, I added wet glue (the bottle has a brush applicator built into the cap) and sprinkled on distress glitter in the corresponding colors. These needed extensive drying time and the glitter does continue to shed as it is handled.

For the third ornament I inked the pine cone with vintage photo distress ink pad and a sponge applicator (guess who had 10 brown fingers after that?) and took the same steps to apply glue and glitter. These pictures don't do it justice. The dark picture is how it really looks, but I took another picture with the flash to show the sparkle and shine. I actually made 2 identical pine cone ornaments. This is the best chunky, shiny yet distressed glitter on the market. Run and get some. you won't be disappointed.


For the rest of the month, I'll share more ornaments I embellished. Please come check them out!


Challenges:

Please follow me on social media and help spread the word about me.
Pinterest

Thursday, July 23, 2015

Christmas in July - Wishing you Joy Santa


It's Christmas in July! Do you ever wonder what Santa does after he delivers all those gifts on Christmas Eve? He goes to the beach of course! I created this ornament to reflect his island adventures. 


Supplies:
  • clear plastic ornament - walmart
  • Hot off the Press - Tropical Christmas Dazzles
  • American crafts ribbon, glitter
  • Glitter it

For the rest of the month, I'll share more ornaments I embellished. Please come check them out!


Challenges:

Please follow me on social media and help spread the word about me.
Pinterest


Wednesday, July 22, 2015

Christmas in July - Ornament filled with mini Ornaments


It's Christmas in July! I just adore these mini ornaments from Hobby Lobby. I cut off all the hangers and placed 3 packs into this clear ornament. A bit of American Crafts ribbon finished this one off! I bet this one will catch the tree lights beautifully!


Challenges:

Please follow me on social media and help spread the word about me.
Pinterest