Showing posts with label embellish it. Show all posts

Thursday, January 3, 2013

A star is born layout - Embellish It!- CKC Lancaster 2012


I cannot get enough of Embellish It!  This layout using Simple Stories Life Documented collection (i think) was taught at CKC Lancaster 2012. We learned how to take various sized squares of cardstock, roughly tear them into circles and ink the edges to make our own shabby chic, layered, flower embellishments.

I only added Thickers and a bow topped paper clip to the layout to make it my own. This layout will showcase my nephew's first pictures at birth. He is due any day now. I'm so excited!
 

I love the extras Shelby taught us to add to accent the cardstock which is already very designed. We cut a scrap of ribbon and staples it on top a banner that was already on the cardstock. We added a striped and dotted pieces of cardstock cut to resemble ribbon. And of course the shabby chic flowers complete with a hand cut and frayed canvas layer.


Layering and repeating elements creates a cohesive layout. I love balance and symmetry in my layouts. Happy New Year!


La-Vie

Sunday, December 30, 2012

Harvest Memories - Embellish It - Play All Day NJ 2012


Here's a new take on a Thanksgiving layout we learned at the Play All Day event by Embellish It!  The collection is called Simple Stories Harvest Lane. We used the Harvest Lane flash cards to embellish this layout. The pictures are meant to be scattered among the flashcards. It creates a whimsical feeling. This layout will be used for baby pictures so it will provide a nice mix of hard (wood) and soft (baby). While it's not the traditonal cute turkey embellished layout, I think it will work well.


We created the "fall" embellishment by layering hand cut letter banner pieces and scraps. It's a great way to use those small pieces of cardstock that you just can't fathom throwing away. I don't know about you, but I've got plenty!


Lastly, a little distressing goes a long way. We ripped and inked the lined paper flash cards to create a ripped notebook page look. What a cute way to highlight that oh so important journaling!


La-Vie

Saturday, December 29, 2012

Happy smile layout (part 2) - Embellish It - Play All Day NJ 2012


Here's the second Happy Smile layout from Embellish It! They were designed to be baby boy pages but they work well for girls too. This layout and yesterday's are availble on the website.


I love the color combination - soft, subtle and pretty (even though it's for a boy). It gave me ideas on how to use those small scraps of leftover ribbon that I usually throw away. We also learned how to incorporate buttons into the layout to make unique embellishements.


I decided to transform this layout into a 1st birthday layout for my nephew who will be born in the next week or so. a few dimensional stickers and a bling title worked wonders! I already created an instant scrapbook to document his first year. So excited! Let me know what you think...


La-Vie

Friday, December 28, 2012

Happy smile layout (part 1) - Embellish It - Play All Day NJ 2012


I had so much fun with Embellish it! at CKC Lancaster that I attened their crop in NJ in the fall of this year. We were taught 4 layouts in between working on our own layouts. This layout is called Happy Smile.


This was my favorite tip of the day. How to use twine with dimensional stickers to create a unique look. I am not much of a twine user... but I am interested in incorporating it into my design going forward.


With the addition of a few embellishments and bling letters this layout was transformed into a layout for a baby girl's first year scrapbook.


I highly recommend this crop. I spent a lot of time talking to folks about the ScrapRack and the free online organization classes and selling my old craft containers I no longer needed. I went with a group of friends and met new ones along the way. In the end I was very productive and completed several mosaic moments layouts.

La-Vie

Wednesday, December 26, 2012

Embellish It layout - Play All Day NJ 2012


Here's another layout taught by Embellish It! at their Play All Day crop in NJ this past fall. What can I say? Awesome layering of cardstock and chipboard embellishments. The color combination...perfect. Check out their website for this kit and others.


La-Vie

Saturday, December 22, 2012

Latest and Greatest class (post 3) - Embellish It - CKC Lancaster 2012


This was my favorite layout of the class. We learned how to make create a background out of scraps that looks like ribbon. We used many patterned papers and cut them, ripped them, layered them to make this back ground. The secret is that the vertical borders are placed on top of the strips to make it look neat and clean. However, all the ends of the pieces of paper extend beyond (which is why I have picture placeholders so it won't look so messy in the pictures). This eliminated the need to measure the strips to make them even. It was truly a non-stressful layout that looks much more complicated than it is. LOVE THAT!!


Embellish It! sells this kit on their website. It's called paper cottage.


After all the strips were layed we layered on dimensional stickers and created circular embellishments. A simple, yet impactful layout.


La-Vie

Friday, December 21, 2012

Latest and Greatest Class (post 2) - Embellish it! - CKC Lancaster 2012


Here's another layout from the Latest and Greatest class taught by Embellish it! at CKC Lancaster 2012. The collection is called Clippings from Basic Grey. They sell the collection and the kit for this layout on the website.


I love this layout because you cannot really tell what is the layer and what is the cardstock. I'll give you a clue... the letters TRIP and the Who what when square was cut from another page in the collection. The rest is the cardstock.


On this page, we added more layering, but it's still interesting how much was already on the page. We aded the stick with me, the hand with the no., the tag, the ripped flight number ticket and the heart. I used a die from Tim Holtz Alterations called filmstrip frames. It's a little different than the one that was shown on the instructions page (but wasn't included in my kit). I think I am going to put this in my nephew's first year instant scrapbook for his first trip to PA to see me!


La-Vie

Thursday, December 20, 2012

Latest and Greatest Class - Embellish It! - CKC Lancaster 2012


If you ever go to a convention where Embellish It! is teaching, please take the class. I love, love, love the way Shelby teaches and the techniques and tips are priceless. It's a fast moving class without being overwhelming and you always get at least 4 scrapbook pages done (I always buy the companion pages at the booth on the selling floor to complete at home). Check out the website for the new kit of the month club where you can get kits like this one. The membership has different levels so you don't have to buy every single month.


This halloween layout started with Graphic 45 Curiosity Shoppe Papers. They are so detailed you really don't need much else. This is the page that was available at the booth. The only addition was the brown flower near the wind up lady. I added my own flair by adding the large black flower with a 1" circle punched from the same cardstock.


This is the page we did in class. It is exactly the same as the page above. But we used another sheet in the collection that had square and rectangle elements to improve the design. We layered over everything except the bottom right hand corner. Take a look at both pictures to discover what we covered up and how.

I learned how to layer on a busy background. My style of scrapbooking wouldn't know what to do with Graphic 45. It's too busy for me. However, I love how this came out and now know how to handle it. Here's what we did. The black butterfly paper is two short pieces we placed at bottom and top. The beige with the ladies goes almost all the way down the page and the bottles are a small rectangle with a butterfly popped up on top with a scrap of ribbon. Usually I wouldn't use such a small scrap of ribbon. Now I don't throw those out anymore. I love being reminded why this art is called scrapbooking!

We also added the post card element at the top right with a flower and 2 other square and rectangle elements. I don't usually use kits or collections to scrapbook because I find joy in pulling everything together myself, but using collections sure does make it easier and faster. Something to consider.

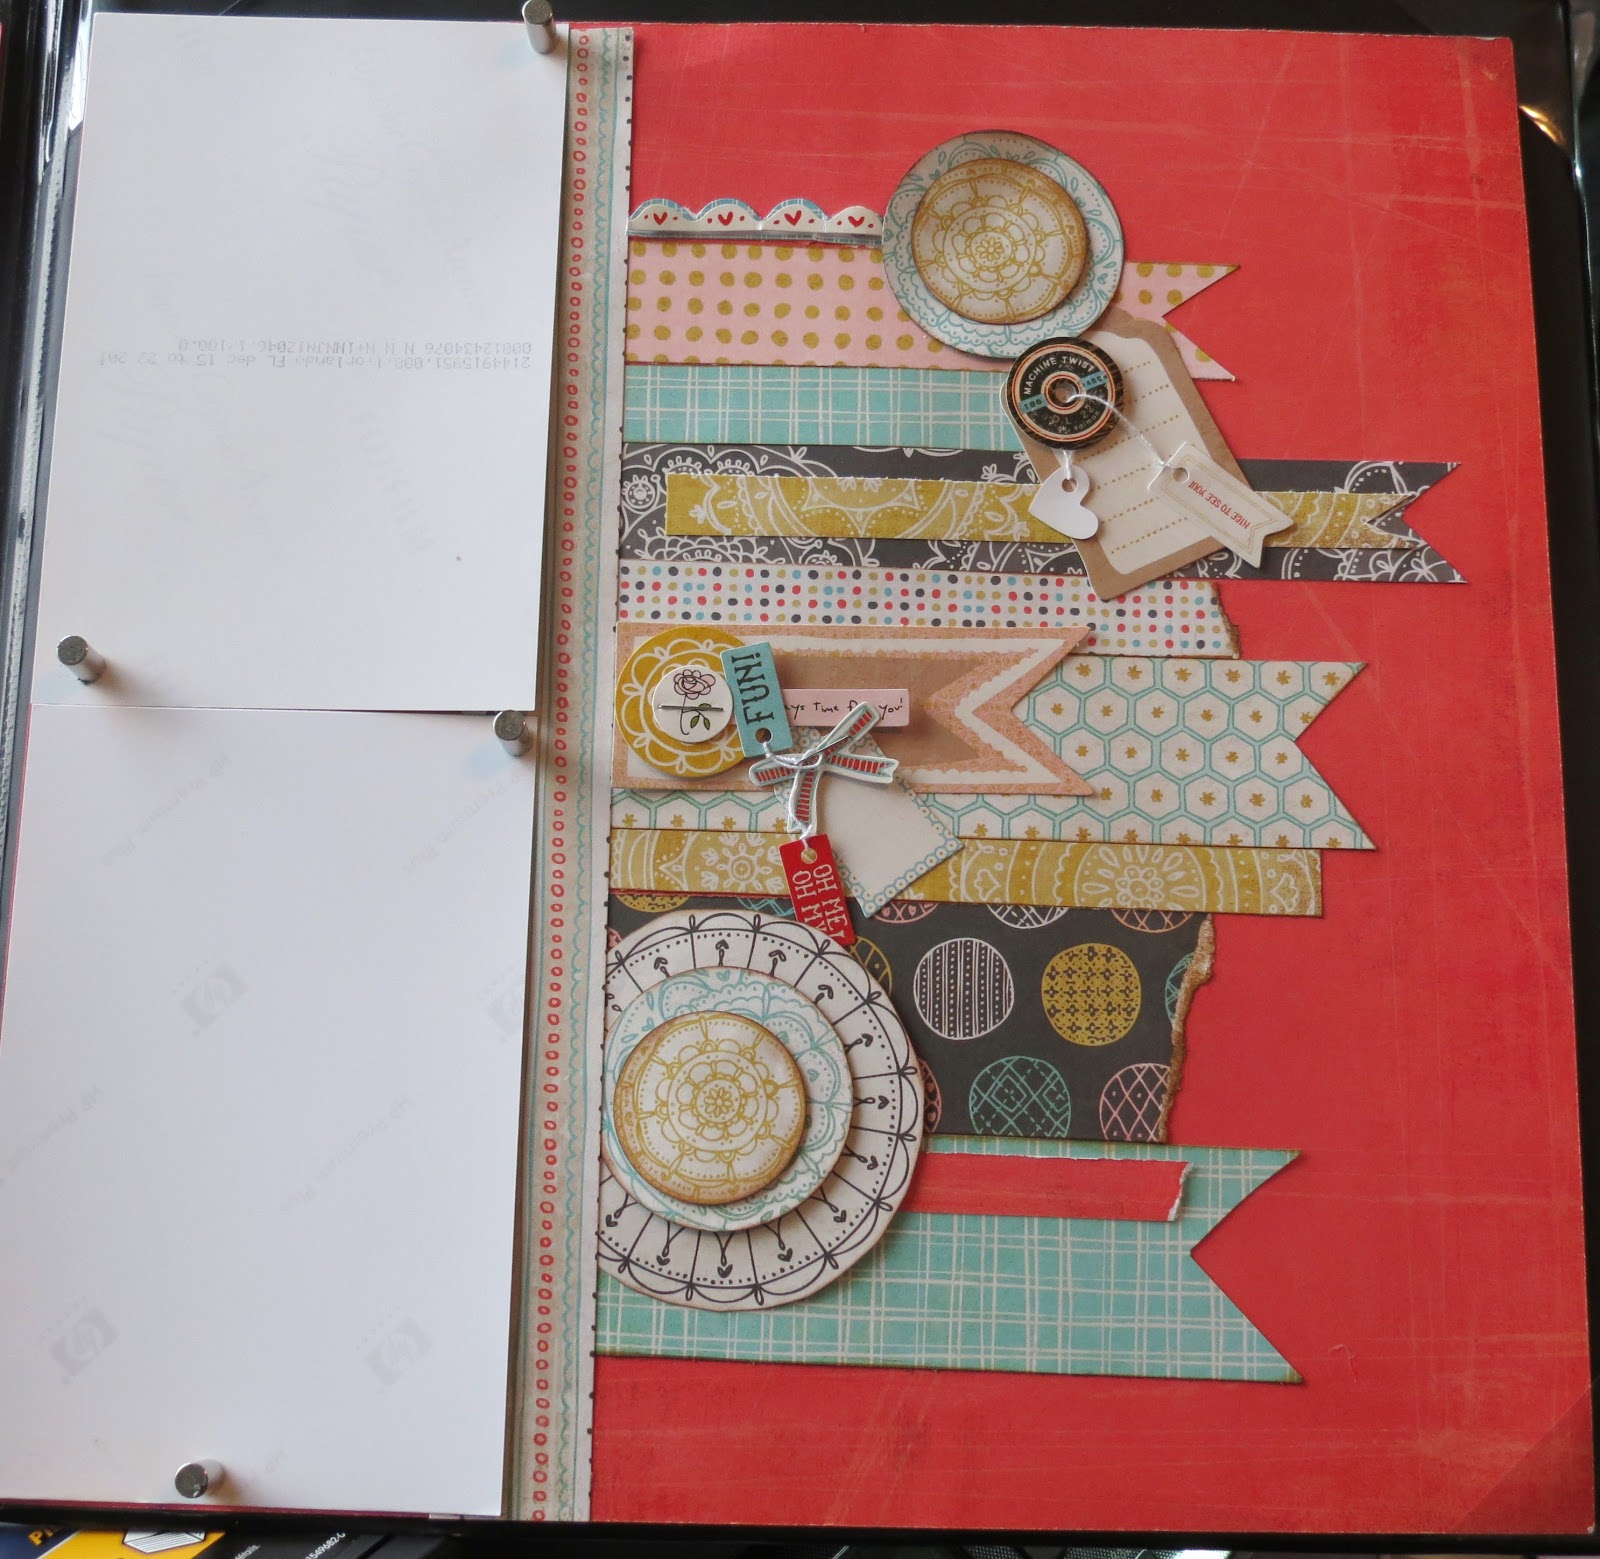
I will use this layout for my Halloween pictures. My husband and I go to a neighbor's house for an adult costume party every year. Once I get that together I'll post it.

Tune in for the next few posts where I will showcase more Embellish It! layouts from the latest and greatest class at CKC Lancaster 2012.


La-Vie

Saturday, August 18, 2012

CKC Lancaster haul! Part 3

Yet another installment of my CKC Lancaster Haul! I'm very excited about these craft supplies. I cannot wait to use all of these items. Once I get my craft room organized it's on!


Embellish It! - I am not usually a collection purchaser but I loved the way these scrabble letters looked and decided to pick up the coordinating paper pack to go with it. The collection is called Basic Grey - Clippings and it's hot off the press from CHA.


Strictly Scrapbooking - OK so I'm in LOVE with the Heidi Swapp embellishments! I got several. In addition I got these sparkly spiral thingys. The fav find was the large silk flowers with chipboard embellishments for the center of the flowers included. It was a "2 for" steal deal.


Craft Fantastic - This is the easiest jewelry (with the fewest steps) I have ever made! I bought the rings, square necklaces and heart necklaces. I taught my 7-year-old daughter how to do it in less than half hour. This is what she made. Aren't these so cute?


The Stamps of Life - I am a member of this monthly stamp club. In a year I have never gotten a set I didn't love! I also love that they have dies now to match their stamps. I have purchased my first two at CKC lancaster. Great projects to come...


The Digital Scrapbook Teacher - These were the most influential classes of the conference. I took 3 (2hr) classes on photoshop elements so that I could learn how to do advanced photo editing techniques. I also learned how to make cards and scrapbook layouts in photoshop elements. I feel empowered with some tools that will benefit everyone... holler at your girl! I will fix your pics for $$.


La-Vie

Friday, November 25, 2011

Upscale Instant Scrapbook for Kara's baby girl


(pg 10 & 11 of 20)

This layout is one of my favorites! The reasons I love it so much are 1. It is not done in my usual style, 2. Black is the accent color, which is usually hard to do outside of halloween layouts 3. I learned how to make a border out of patterned paper and a new distressing technique. This layout was the result of a CKC Valley forge class taught by Embellish It!

In order to make this layout fit into the baby theme of the album, I add the title first visitors and the dimensional sticker flourish at the bottom right of the page. This layout will house all of the pictures of the baby's first visitors either at the hospital or at home. It's cheery, yet grounded. I like it a lot. I hope you do too.

La-Vie

Monday, November 21, 2011

Upscale Instant Scrapbook for Kara's Baby Girl


(pages 4 & 5 of 20)

The base design was created by Embellish It! In the class at CKC Valley Forge we assembled the left-hand page. The materials for the matching page were available for sale and I finished it at a later date. I learned how to hand-pleat ribbon on a page - a new skill for me. This layout will highlight the intimate friends baby shower  called a "blessingway." The beautiful ritualistic afternoon was filled with meaningful exchanges from the mom-to-be's nearest and dearest as she enters motherhood for the first time. Adding fabric flower stickers, and other birth-related embellishments focus the intent of this layout. I love the vibrant colors of the layout that can be used for spring or fall.

La-Vie

Monday, November 14, 2011

Upscale Instant Scrapbook for Kara's Baby Girl


(Page 2 and 3 of 20)

I love a good 2 page layout! This base design was designed by Embellish It! During the class we put together the left hand page. I then bought the kit for the right hand page at the vendor show. I learned how to extend design elements so that the two pages look seamless even though there actually is a break between the pages. This type of layering, flowering making and design esthetic are now a part of my repetoire. It was a fast-paced fun class. I highly recommend Creating Keepsakes conferences.

I never create layouts without a purpose. So all the layouts from the classes I attended sat in my cabinet for months. Then, the opportunity to create a gift album for my friend Kara came about. She was a mom who wasn't as in to the pink baby girl themes. This type of sophisticated layout was just what the doctor ordered! So I added several embellishments, including the pregnant lady on the right, to create the 9 months layout. The pregnant lady, cut from Cricut Cartridge Everyday Pop Up, has followed Kara through her pregnancy. I used her on the congrats your preggers card, her blessingway invite and now in her instant scrapbook. These pages will highlight the 3 trimesters of pregnancy to show how the mom grew over the months. An opaque pen could be used to journal in untraditional places. This layout was perfectly received.

Stay tuned...

La-Vie