Showing posts with label denami designs. Show all posts

Sunday, November 10, 2013

Denami Blog Hop - A Touch of Twine


When: The blog hop starts on November 10 at 6 AM, PST. However, you have until November 11, 2013, 11:59 pm PST, to leave comments on all the blogs (to be eligible for a prize).
Why: To be inspired by fun DeNami Design creations and also the chance to win mini shopping sprees on the DeNami Design website!

Prizes: We are giving away THREE $20 gift certificates to our website! We'll be giving away one gift certificate to a random participant (DT members not eligible) and then we'll also be giving away TWO gift certificates to TWO people who comment along the hop!

GUESS WHAT??? I've got even more blog candy for ya!!  
One lucky follower (anywhere in the world) who comments on this post AND follows me via social media (see below) will win 10 rolls of American Crafts twine! 

Please leave one comment total telling me you followed me on:
  • this blog with bloglovin AND in blogger (see buttons on the sidebar of this blog) 
  • Pinterest
  • Twitter 
  • my Facebook fan page
  • Instagram - user name laviebordeperry
  • YouTube
  • Share this post with friends. Let them know to leave a message telling me who sent them.
  • In your one (and only) comment, please let me know where you followed me and the user name you used at each one (so I can verify all your entries)
Ok! On with the hop!!! You should have arrived from Debbie Bonczek's blog. If not, please visit the Denami blog for the complete lineup.

Here's a sneak peek at my project showcasing one of the stamps in Denami's Ornamental Centerpieces set. It's stamped in Memento ink and colored with a combo of mint green liquid pearls and mercury glass Stickles. A touch of Sew Easy twine compliments the look. The glimmer and shine is amazing!! 


Here's the complete card front with a stamped image from Inkadinkado in gold metallic ink. The die cut card base is from Purple Daisy Designs. 


A closer look at the detailed stamp and special coloring. The inside sentiment is from Stampendous. 


Thanks for hopping by!!! I hope you like my project and will follow me to win!! Your next stop is Lisa Elton's blog.


La-Vie

Sunday, September 8, 2013

Denami Designs Krazy for Kraft Blog Hop


When: The blog hop starts on September 8th at 6 AM, PST. However, you have until September 9th, 2013, 11:59 pm PST, to leave comments on all the blogs (to be eligible for a prize).

Why: To be inspired by fun DeNami Design creations and also the chance to win mini shopping sprees on the DeNami Design website!

Prizes: We are giving away THREE $20 gift certificates to our website! We'll be giving away one gift certificate to a random participant (DT members not eligible) and then we'll also be giving away TWO gift certificates to TWO people who comment along the hop!
 
You should have arrived from Pattie Goldman's blog, or you can start the hop from the beginning at the Denami blog by clicking here.


I created a card using kraft cardstock featuring Denami's Elegant Hibiscus stamp. There's three techniques I have been wanting to try that I employed on this card. First, I've always wanted to try making a card that fits in a #10 envelope. Second, I had a plan to try out the sew ribbon products I've had for quite a while. And third, I wanted to try "painting" with embossing powder.


I love this Denami stamp! It was so easy to emboss using VersaMark, white detail embossing powder and the excess kraft cardstock. I continued to emboss the inside portion of the stamped image using a VeraMarker and Recollections burgundy pearl embossing powder. The VersaMarker is VersaMark ink in a pen with a brush tip and a fine tip.You can use it to fix mistakes in your embossing and to add different colors of embossing powder to small areas at a time.

Once the flowers were colored, I fussy cut them out and used foam tape to attach them to the card front. I love how it came out and I think the mix of bling, pearls and brass just sets it off!

Supplies:
  • Recollections - kraft cardstock 8 1/2" x 11", bling, burgundy pearl embosssing powder, foam dots
  • We R Memory Keepers - Sew Ribbon leaf tool and grosgrain ribbon: Buttercream
  • Stampendous - white detail embossing powder
  • Memento Tuxedo black ink
  • Sentiment from my stash, bought from HSN
  • Elizabeth crafts fussy cut scissors, Scotch titanium non-stick scissors
  • heat gun, Darice stamp pad, Inkadinkado tray


I was pleasantly surprised at how easy it was to use the Sew Ribbon Leaf pattern and buttercream grosgrain ribbon both by We R Memory Keepers. I will be sure to use it again soon.

Thanks for hopping!! I love new comments and followers!! Your next stop is Stacy M.


La-Vie

Sunday, August 11, 2013

Denami Sweet and Simple Blog Hop

***If you are looking for the Get Inky! Halloween Blog Hop click here.


When: The blog hop starts on August 11th at 6 AM, PST. However, you have until August 12th, 2013, 11:59 pm PST, to leave comments on all the blogs (to be eligible for a prize).Why: To be inspired by fun DeNami Design creations and also the chance to win mini shopping sprees on the DeNami Design website!

Prizes: We are giving away THREE $20 gift certificates to our website! We'll be giving away one gift certificate to a random participant (DT members not eligible) and then we'll also be giving away TWO gift certificates to TWO people who comment along the hop!

If you have come from Tenia's blog, then you're in the right place. If not, please start at the beginning of the hop at the Denami blog.  

My sweet and simple project was made with one of the stamps in the Ornamental Centerpieces set (CL-GD007). 


Supplies:
  • Denami stamp - from CL-GD007 ornamental Centerpieces (3 stamp set)
  • Card base - bib card from The Paper Cut
  • Sentiment - Get Inky! Stamps - Holiday Stamp set
  • Tri-color washi tape from Love My Tapes
  • Hybrid Ink - Clear and Simple Stamps - Perfect Little Black Dress
  • Ribbon - Martha Stewart Crafts
  • Copics - B0000, B00, B02, RV 21, RV 34
  • Chalk ink - Quick Quotes Powder puff: Blue Hawaiian
  • Sequins - Hobby Lobby
  • Zots - bling size glue dots

Colored and shaded with Copics

The design reminds me of splashing water. Thanks for hopping by! If you like what you see, please follow me.

Next up is the wonderful.... Wendy!!!

Challenges:
Sister Act Card Challenge: anything goes
D. L. Art Thankful Thursday: linky party -- anything goes
Repeat Impressions DCC731: water element
Sarah Hamer Designs: Tuesday Link Up Party


La-Vie

Sunday, July 14, 2013

We're Live! Denami Summer Splash Blog Hop


When: The blog hop starts on July 14th at 6 AM, PST. However, you have until July 15, 2013, 11:59 pm PST, to leave comments on all the blogs (to be eligible for a prize).Why: To be inspired by fun DeNami Design creations and also the chance to win mini shopping sprees on the DeNami Design website!

Prizes: We are giving away THREE $20 gift certificates to our website! We'll be giving away one gift certificate to a random participant (DT members not eligible) and then we'll also be giving away TWO gift certificates to TWO people who comment along the hop!

You should have just come from the lovely Tammy Hobbshowever, if you'd like to start the hop from the beginning, or you get lost along the way, visit the Denami Blog

I love Denami's large chickie stamp! For my project, I decided to make a magic card to show him enjoying some summer fun. Many of you have been asking for a tutorial, so I've included that as well! It's a very fun project and I hope you will give it a try.


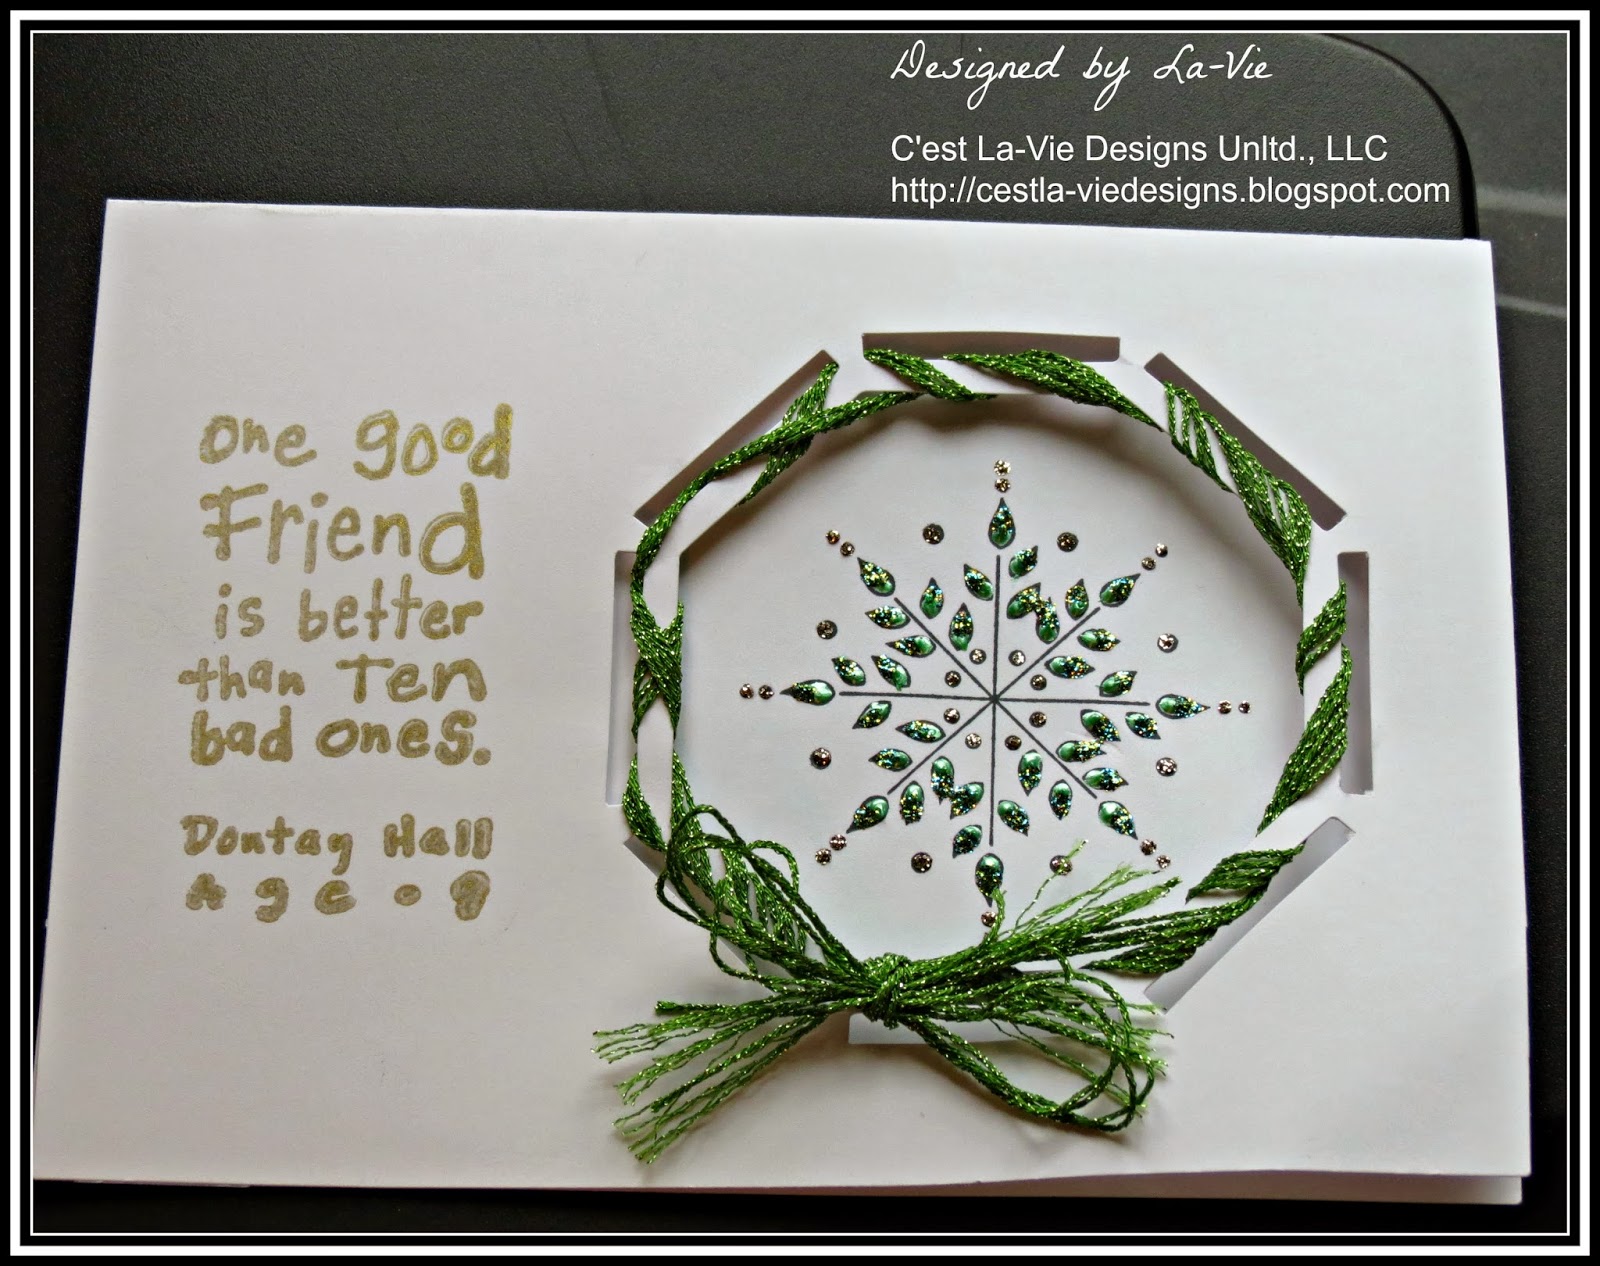
Here's the closed card


And here's the way it looks opened!!!

Supplies:
  • Denami large chickie stamp
  • Magic Card kit - The Paper Cut
  • Ink - black Stazon, Clear and Simple Stamps Hybrid ink - Perfect little Black Dress, On the catwalk cream, Espresso your style, Simply bluetiful
  • Washi tape - Recollections
  • Paper Shapers punch
  • Copics - Y06, Y15, Y28, YR04, Y26, R24
  • Sun stamp - Stampendous - Inspired Icons
  • Ice pop and fun in the sun stamps - Stampin' Up! - Sunny Fun
  • Sun glasses stamp - Clear and Simple Stamps - Jet-setter darling 
  • Sand background stamp - Clear and Simple Stamps
  • Sandcastle stamp - stash
  • Yellow patterned cardstock - American crafts Moda Bella Preppy
  • Scotch ATG adhesive, post it notes that are sticky all over for masking
Your next stop on the hop is the talented Stacy M. but stay a while (or come back) to enjoy a step-by-step magic card tutorial.


MAGIC CARD PICTURE TUTORIAL

As promised, here is the tutorial!!!! The magic card kit from The Paper Cut provides the card base, envelope, acetate, cardstock (enough to make 8 cards), a slider template and these instructions. FYI - I have taken creative liberties and added my own tips along the way.


Step 1 - stamping the main image on acetate

1. Cut the acetate into 1/4 sheets (4.25 x 5.5")
2. Stamp image on acetate using Stazon ink in the middle of the acetate. Another option is placing the acetate inside the card base window before stamping to make sure your image fits and is centered. Set aside.


Step 2 - Stamping the main image on cardstock

1. Cut 1" off the top of the cardstock creating a 1" x 5.5" strip set aside.
2. Using the same color ink, stamp the same main image on the middle of the cardstock using the most compatible ink for whatever you are coloring your image with. Once the image is stamped, as a test, place the acetate on top and line the images up. It's important that the acetate doesn't hang over the cardstock on any side. Set aside the acetate.
3. Stamp any other images, sentiments or scenery you'd like around the main image (in any ink color) on the cardstock. Using the acetate as a test, make sure all of your images are covered by the acetate. (Anything outside of that will be cut off soon.)
4. Color the image(s).


Step 3 - Attaching the acetate and trimming to size

1. Line up the main image on the acetate with the main image on the cardstock.
2. Turn the acetate over and apply narrow 2 sided tape across the top edge. I used scotch ATG.
3. Carefully attach the acetate to the card stock so that the images align perfectly.
4. Trim along the 4 sides of the acetate with a scissors cutting away the excess cardstock.
5. On the top edge, you will need a pull tab. Using scrap paper punch or a die cut a circle or coordinating shape of your choice. Put adhesive on the lower front portion of the die cut and attach it to the back of the cardstock centering it at the top. Half the circle will stick out above the top edge of the card. You may want to use a strip of cardstock to cover where the adhesive was applied to hold the acetate to the cardstock. I used Washi tape.


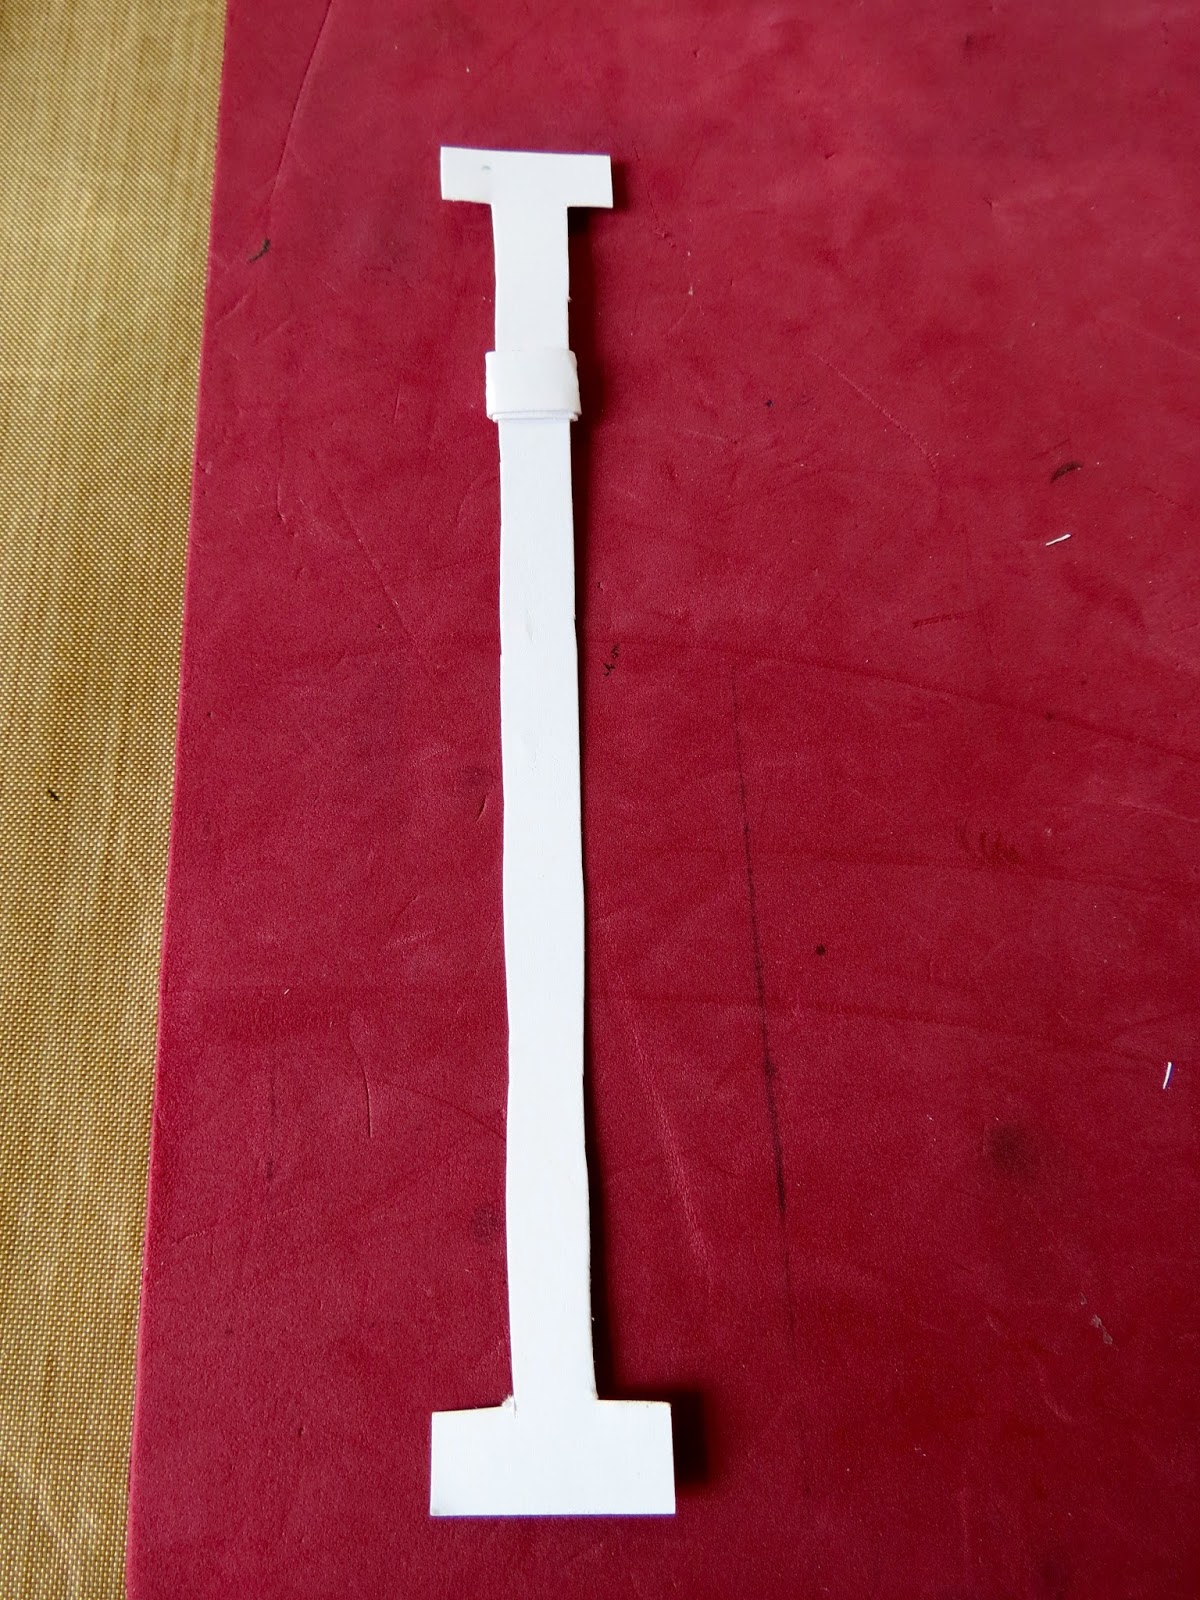
Step 4 - Making the Slider and Stop

1. Using the template on the back of the instruction sheet cut a slider using the 1" scrap you cut from the cardstock earlier.
2. With a scrap from what you just cut, create a stop by wrapping a piece of cardstock (approx. 1/4" to 1/3" wide) around the neck of the slider. Wrap it twice forming a flat loop, cut it and secure it to itself with double sided tape. The stop should move freely up and down the slider.


Step 5 - Stamping the frame of the Magic card

1. Open the card flat. Using background stamps, words, etc. stamp the window frame of the card base. DO NOT stamp on anything else - especially the flap below the window. It has to remain blank for the "magic" to happen once the card is assembled!


Step 6 - Assembly - Let's make magic!

1. Turn the card over so that the stamped frame is face down. Place 2 sided tape on the 2 ends of the slider and attach it to Flap C.
2. With the stop at the bottom of the slider, place 2 sided tape just on the stop.
3. While separating the acetate from the cardstock, insert the acetate/cardstock piece with your main image on it onto Flap B. The pull tab will be at the bottom of Flap B and the acetate image should be facing you, but upside down. The rest of the stamped images will be invisible as they are behind Flap B. 
4. Fold Flap B up onto onto the window frame. When you fold it up, look at the front of the card to make sure you can only see the acetate stamped image and that everything is in the right place. NOTE: if the acetate can be seen above the top of the window frame trim a small amount (approx. 1/8" off of Flap B).
5. With the stamped side face down and Flap B folded up onto the window frame and the stop at the bottom of the slider, fold flap C onto Flap B. Apply gentle pressure to the area of the Stop to make sure it adheres to the back of flap B.
6. Apply 2 sided tape to the edge of Flap A. Fold Flap A onto Flaps B and C. Voila! Turn your card over and gently pull up on the tab to reveal the magic!!!


Super cool right? Click here to see another magic card (my first) that I made for 4th of July.


Challenges:

Sarah Hamer Designs - Anything goes
Clearly iStamp - Summertime
Great Impressions - anything goes
D.L Art - anything goes
The Crafting Cafe - Summer's here
Pin and Tack - Anything goes
2 Creative Chicks - 3D
D.L Art - Summer


La-Vie

Sunday, June 9, 2013

Hello ATC for Denami Patterned Paper Blog Hop!!!


When: The blog hop starts at the Denami blog on June 9th at 6 AM, PST. However, you have until June 10th, 2013, 11:59 pm PST, to leave comments on all the blogs (to be eligible for a prize).

Why: To be inspired by fun DeNami Design creations and also the chance to win mini shopping sprees on the DeNami Design website!

Prizes: We are giving away THREE $20 gift certificates to our website! We'll be giving away one gift certificate to a random participant (DT members not eligible) and then we'll also be giving away TWO gift certificates to TWO people who comment along the hop!

For my project I designed an Artist Trading Card (ATC) using Denami Designs Large Chickie stamp and patterned cardstock from my stash. I was so happy when Denami came out with this stamp! It's just my size!


Combining colors comes easy, but mixing patterns is a bit more challenging for me. My rule of thumb is to use patterns that are in the same color palate, those that blend into a scene I am creating or ones that contrast well. I inked certain areas of the ATC with Tim Holtz distressed ink to bring the look together, while differentiating between the different patterns.

The Chickie is raised on foam tape as the star of the ATC. I used small elements fussy cut from the same green patterned cardstock, adorned with bling and raised on foam tape to create more depth. The flowers in this Chickie's wing and on the ground were cut from the same cardstock as the grassy knoll. The clouds were cut down from a larger border stamp and the "hello" also came from a border stamp (what a little masking will do!). I hope you enjoyed this project and will be inspired to create an ATC with patterned paper and Denami Designs.

Supplies:

  • Denami Designs Large Chickie
  • Couture pique 8-5109 (double-sided) - dotted cardstock in the background and clouds 
  • Green graph patterned cardstock and the blooms - stash
  • Yellow patterned cardstock (stash)
  • Inkessentials Artist Trading Card - 2 1/2  x 3 1/2" manila
  • Recollections - Fun Borders (hello and clouds stamps), Foam adhesive circles
  • Clear and Simple Stamps - Perfect Little Black Dress hybrid ink 
  • Tim Holtz Distress Ink - Mowed Lawn
  • Copics - Y15, YR07
  • Clear bling
  • Zots - bling glue dots

GUESS WHAT??? I've got even more blog candy for ya!!  
One lucky follower (anywhere in the world) who comments on this post AND follows me via social media (see below) will win a mystery prize pack including Tim Holtz Distressed products! 

Each one of these earns you an extra entry!!!
  • follow this blog with bloglovin AND in blogger (see buttons of the sidebar of this blog)
  • follow me on Pinterest
  • follow me on Twitter 
  • like my Facebook fan page
  • follow me on Instagram! My user name is laviebordeperry
  • share this post with friends. Let them know to leave a message telling me who sent them.
  • when you're all done, leave me a second comment letting me know where you followed me and the user name you used at each one (so I can verify all your entries)
On with the hop!!!  Starting at the Denami Blog and hopping to:
  1. Lisa Elton
  2. Barbara Murphy 
  3. Paulina Nakamura 
  4. Stacy M.
  5. Tenia Nelson
  6. Tina Milbourn
  7. Tammy Hobbs
  8. Greta Hess
  9. Lisa Petrel
  10. Pattie Goldman
  11. Deb Fischer
  12. Kanani Kawamura
  13. Annette Holleger
  14. Jennifer Harris
  15. Emily Keaton
  16. Diana Fernandez
  17. Amy Smidebush
  18. Wendy Elliot
  19. La-Vie Borde-Perry  YOU ARE HERE!!
  20. Deb W.  NEXT UP...

Thanks for hopping!! Good luck in the prize drawings!!

Challenges:
Great Impressions - Leave a little sparkle
Sarah Hamer Designs - Linky Party: Anything goes
A Creative Romance - Anything goes
DL.ART - Anything Goes

La-Vie

Friday, May 10, 2013

Coloring with Pearl Pens and Glitter?? Denami Designs Make n Take


One of the coolest make 'n takes I had the pleasure of completing at the Heirloom show last month was lead by Denami Designs the stamp I used is called J146 Garden Bouquet.  It involved stamping and coloring with crystal lacquer pearl pens and glitter! The result? A 3D glitter glue look that doesn't flatten when it's dry. I love the look. Amazing....


Here's a side view to show the dimension. This is a technique I will definitely try. Denami sells it all... the stamps, ink, pearl pens, glitter and much more. After stamping the image, I used one color at a time to color in the parts of the stamp and sprinkle with matching colored glitter. I love the tiny precision tip on the crystal lacquer pearl pens. It really allows you to color with ease.

The representative mentioned that you could play with color by adding the pearl pen in one color and using another color of glitter to create a new color altogether. It's a must do! Note: it took a while to dry, similar to thickly applied glitter glue.


Have you ever tried this technique? Share your story...


La-Vie