Showing posts with label Cricut Cartridge Disney Happily Ever After. Show all posts

Friday, March 9, 2012

Disney Autograph Book - Cricut Cuts


We used the Cricut to cut some of the Disney characters using the cartridges Happily Ever After and Dreams Come True. I cut everything with my Cricut Expression and my daughter at age 6 put everything through the xyron to make it a sticker and layered all the pieces.


The hardest part about cutting Disney characters small is the eyes. They tend not to look as natural or be so small that you cannot figure out where and how to place them. We got around this issue by using a white opaque pen to create the eyes.


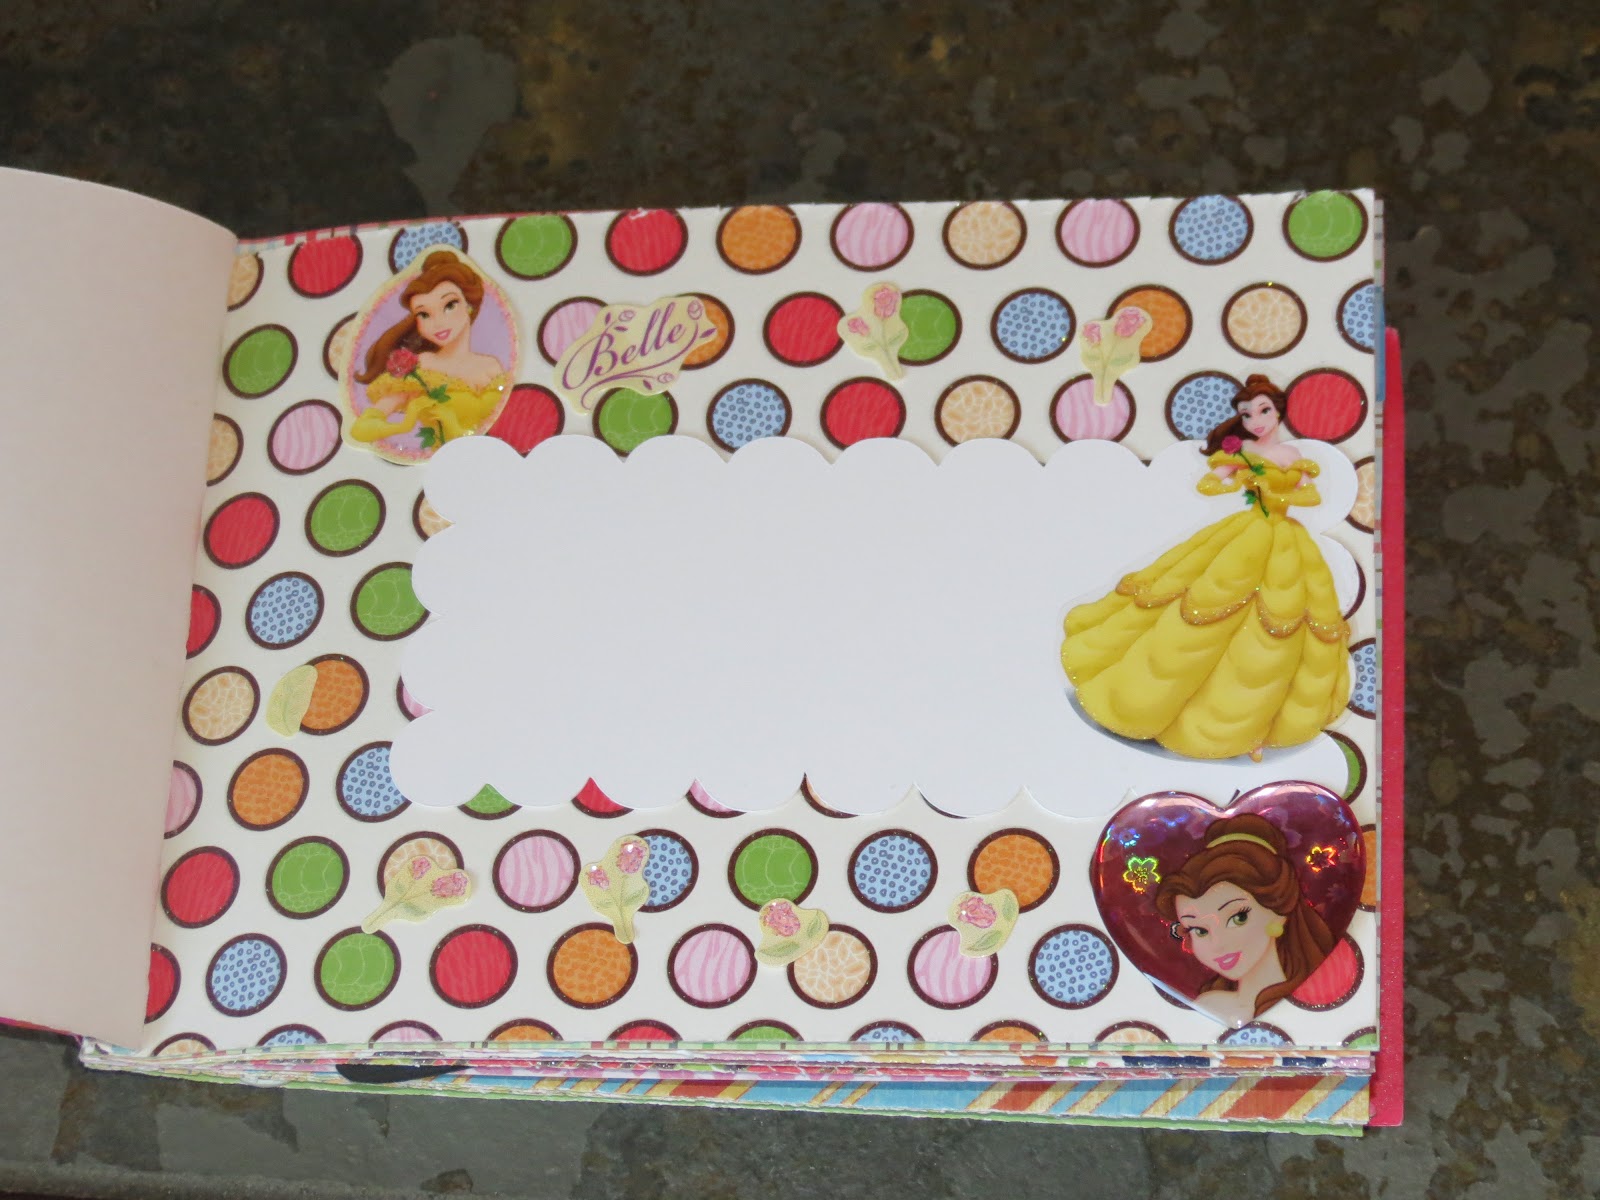
I love the design on each of these pages which are from DCWV Safari Kids mat stack.


We enjoyed making Daisy the most because she so stylish and wears makeup!


Who can deny THE MOUSE? He's so cute!

La-Vie

Tuesday, March 6, 2012

Disney Autograph Books


Our first trip to Disney in Orlando happened December 2011. In preparation, my daughter (age 6 at the time) and I created autograph books for her and her brother. We used the Provo Craft Your Story Photo covers and to bind the books. Using Disney embossing folders and the Cuttlebug we embossed the covers. I love the ribbon we used for the cover! We used bling alaphabet to add my daughter's name and a more manly alpha stickers. Ek Success makes the cutest bling mickey symbols.

We noticed in hindsight that the soft covers offered with the Your Story are not best for this type of book because it gets handled a lot. There are plenty of hard covers with the Your Story and we will use those next time. Also using a larger sized pen will help the characters that wear large gloves be able to get a better grasp and do a clearer signature.


I used mat stack pages DCWV Safari Kids. We had accumulated a bunch of Disney princess stickers so I let my daughter decorate the pages the way she saw fit. Ariel is her favorite princess so her page is first.


I used a basic scallop rectangle cut with the Cricut E2 to suggest where the signature should go. Some characters were so into character - or maybe our book was so unique - that they signed the book backwards and upside down!

More pics next time....

La-Vie