Monday, December 17, 2012

Oh What a Week! Layout - CKC Scrap and Play 2011

 
I thought I'd switch it up some... going back... back in time...  to hurricane Irene fall 2011. The latest craze today is to scrap all those daily life occurances. This layout taught by Creating Keepsakes Magazine at the 2011 Scrap and Play event in Lancaster PA fits the bill a year later and beyond. This one was especially challenging for me. In fact, it took me a year to even pull it out again and consider finishing it. The reason why - this class featured the I-top and Sew easy. I had never considered using either tool because I tend not to be a fussy scrapper. I don't want to get too dirty or too involved with things like sewing paper for example.
 
I also tend not to jump on the bandwagon with every single new craft tool that comes along. I wait, look and listen to see if it's really something I would use consistently. I am an avid collector of scrapbooking supplies and once I want it, I want it all. SO, I must be sure.


The left page required sewing the flower stems using the sew easy tool and floss. My floss kept tangling, I kept messing up the pattern. I do not sew. So, it was difficult to remember which places to sew and skip and double back on. It took every bit of my mental fortitude to get one stem done. I couldn't figure out the I-top so my buddy, my pal VP who was there with me (shout out girlie!) did it for me. I was too through with everything. I loved how the layout was supposed to look so I packed it up and vowed to complete it one day. Then I hit the vendor table to buy the Sew Easy products. LOL.


Fast forward to two months or so ago. I made a pledge to teach my daughter new craft skills weekly -as I completed my ScrapRack organization of my craft room - and thought of the sew easy. She's 7 and very interested in learning how to knit, sew, all that stuff I don't do. YIKES! I pulled this out and figured how to do the different stitches needed so I could teach her. More focused, not stressed out from a long day of classes and worrying about being blown away in a hurricane... I found it wasn't that bad!! My daughter learned 4 different stitches so far.


Here's a view of the layout. I hope to add this to a project life scrapbook or something in 2013.  Thanks for stopping by!


La-Vie

Friday, December 14, 2012

(Take 3!) Fabulous Pages - Quick Quotes - CKC Lancaster

 
In the Quick Quotes class this was the third layout. Compared to the others this was a snap. It just required cutting the mats, inking the elements and layering them. This was definitely more my speed. I don't know why, but I am much more tolerable of layers on a card than I am for scrapbook layouts.
 
Here's a closer look: 


This layout, with the addition of just two flowers and a title (which covered the previous title) this layout was used to document the baby's first visitors.


La-Vie

Thursday, December 13, 2012

(Take 2) 6 Fabulous Pages - Quick Quotes - CKC Lancaster 2012


Here are the next two pages from the Quick Quotes class. This is joy personified! The colors and the flowers (even the doily - who knew?) brighten my day. Here's a closer look:


This layout is perfect for Easter memories. With the addition of a title, voila!


La-Vie

Wednesday, December 12, 2012

6 Fabulous Pages Scrapbook Layout class - Quick Quotes - CKC Lancaster 2012


Quick Quotes offered a 6 fabulous pages scrapbook layout class. I appreciated that everything we would need (minus the ink) was included in this class kit. I didn't have to run to the booth for matching pages which was GREAT!  It was an advanced class with many steps. The results are stunning (but I had had it - simply exhausted - by the time this class started so I left half way through). Luckily there were detailed instructions and color pictures provided. LOL.

This was the most labor intensive class I took at CKC Lancaster. There was cutting, spraying, inking, doilies, chain, brads, pearls, wire... and the list goes on! We used the positive and negative images to create several looks. I was glad that they had us do all of the messy stuff and cutting up front so that all the assembling could happen during the 2nd part of class. That made it easy for me to exit and complete it later.


The use of color and patterns in this layout is phenomenal! I would never have chosen to do all of this in one layout. That's why I like taking classes to get the creative juices going and to do things that are outside my box.


The butterflies were made in an interesting way. One is made of self-adhesive canvas and one is made of cardstock. The cardstock butterfly is larger than the canvas one. We used the canvas butterfly on top of the cardstock one and sprayed ink to cover. The canvas, acting as a stencil, left a nice design on the cardstock layer. The same was done with the smaller butterflies but instead of spray ink, we used a stippling brush with chalk ink for a more saturated color.


The flowers used in the layout are double-sided and were cut from the picture mat that is adhered to the page. A great way to save paper is to cut out places that will be behind a picture of embellishment. No one will ever know and your $ goes further! In this case, we inked the negative space just in case some of the flowers show. Up until I saw this, I always used whole pieces of paper underneath pictures etc. It was an Ah-ha! for me. How about you?


With the bold colors and design of this layout I only added a few embellishments to turn this layout into a homecoming/nursery themed layout for a baby girl.


La-Vie

Tuesday, December 11, 2012

Paper Frosting - Shoestring Productions - CKC Lancaster 2012

Spending Time with my BFF layout

I'll tell you what.... I do not like messy scrapping in a large group. There's never a good way to clean up and it gets on my last nerve. But I played along at the CKC Lancaster Thursday night techniques workshop. Shoestring productions passed out something called Paper Frosting and we had to use our finger to cover a small circle. Murmurings from all around = why? Why are we coloring with this? What is the point?

I guess they shared my sentiments exactly about the messiness. Anyhoo, once it dried, we could see that Paper Frosting adds texture to paper. It's excellent to make snow on a card or layout etc. If you have a little faith and patience you'll see it's great. I ended up getting the sampler pack at the show, but you can check it out online.


The moral: don't knock it til you try it! I stand corrected (twice now since I got messy with some Twinling H2Os and that was super messy as well. Love both products!)

The page we worked on in the workshop (above) includes the blue circle that has the paper frosting on it. It was important not to be perfect and even with the painting to ensure the most textured look. This page required making the pocket, inking every little piece (wore me out cuz I'm not much of an inker either) and is simple adorable.


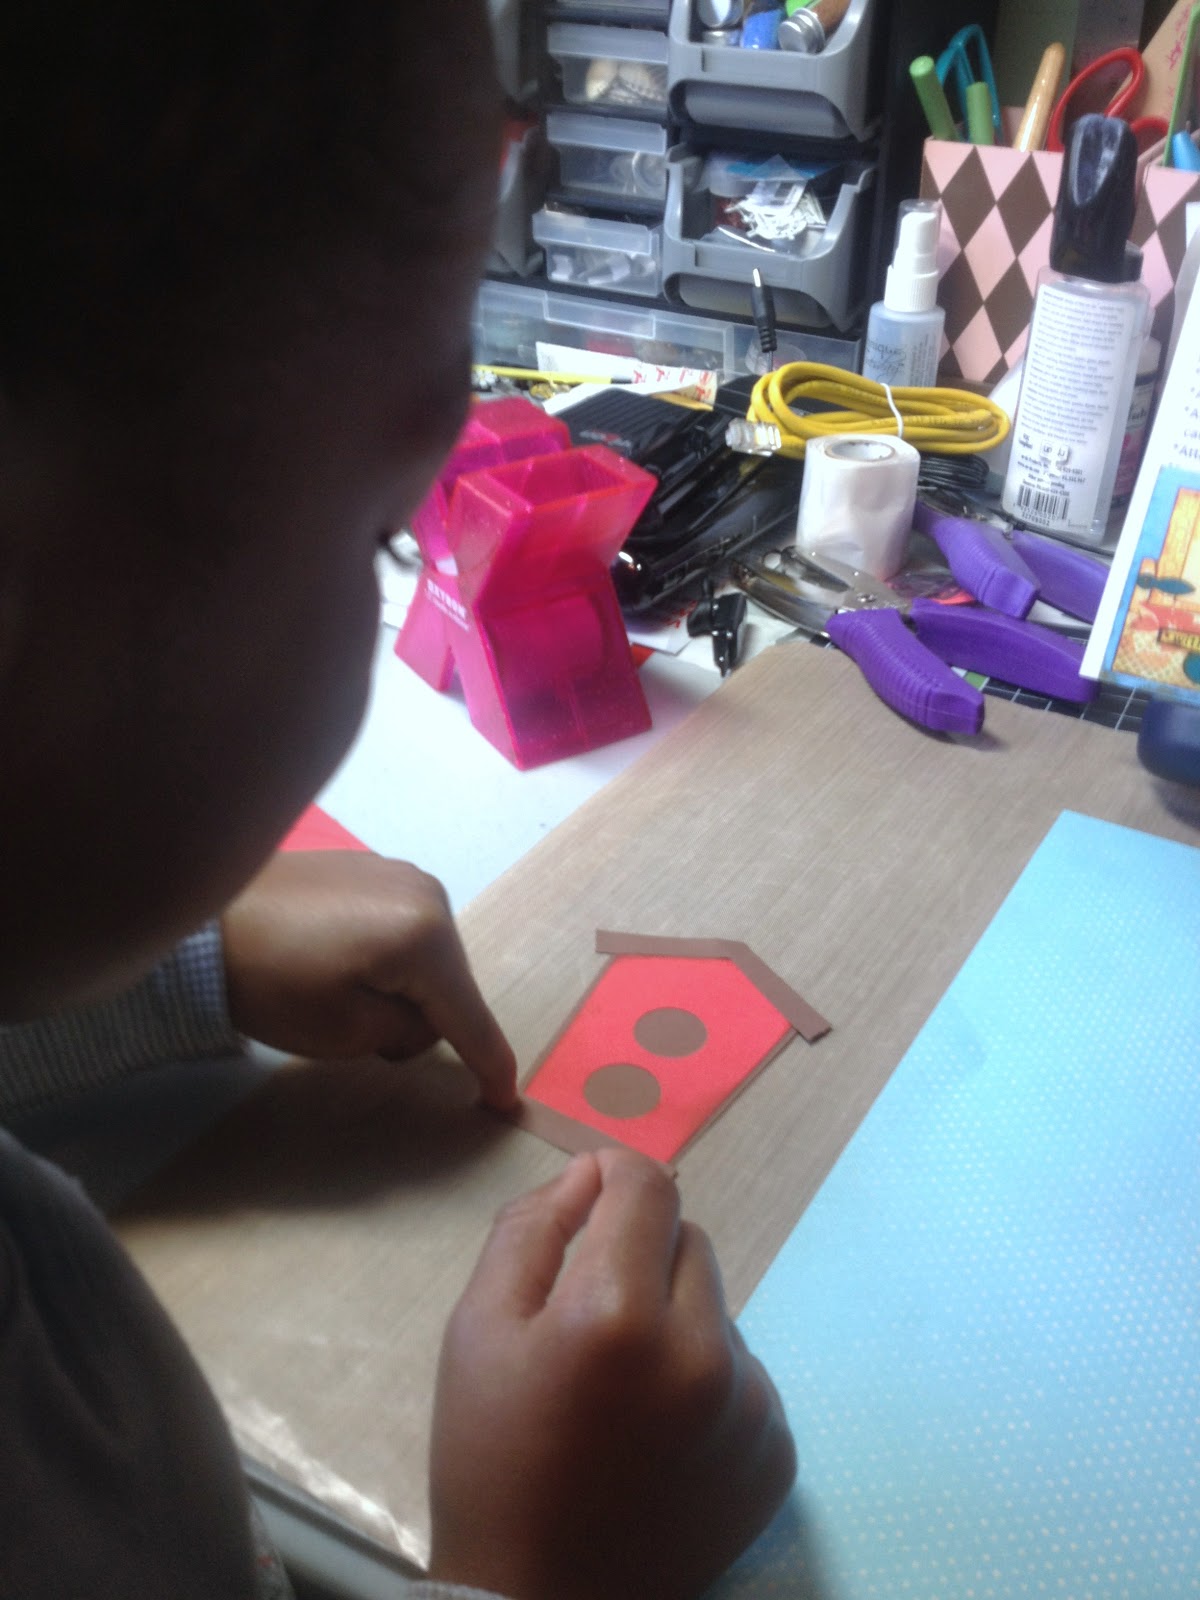
While I was putting together this layout at home, my son (age 3) wanted to help. I taught him how to use the xyron X to make the pieces stickers and how to layer the different parts of the bird house. He was SO happy to be crafting with mommy and that he made something he recognized it wasn't funny. He askes all the time to craft with me so I've put him to work helping me organize and add things to my ScrapRack.

Here's some pics taken with my iPhone while we crafted.


La-Vie

Monday, December 10, 2012

3D Flowers - Heartfelt Creations - CKC Lancaster 2012


Heartfelt Creations makes THE BEST 3D flowers and didn't fail to deliver during the Thursday night technique workshop at CKC Lancaster this year. Everything was pre-cut and pre-embossed so this layout came together really fast. That was my kind of scrapbook kit! We learned how to color the flowers, cut them in the right places to make them pop and to use that ball tipped tool to work the flowers into a 3D shape.
 
I loved the background stamp (shabby chic lace precut) and was able to get it free with purchase at the booth! Check it out here if you're interested in getting it too. It comes unmounted as a rubber stamp.


I used the layout as is in a Baptism layout for a baby's first year album for some friends of mine who are expecting. The title from Jolee's was so detailed I decided to make a simple color blocked page. That leaves the journaling and pictures to be the stars!


La-Vie

Sunday, December 9, 2012

Resist Technique - Dollar Scrapbooking - CKC Lancaster 2012

 
I'm here again to share a technique learned in the Thursday night technique workshop at CKC Lancaster 2012! Dollar Scrapbooking lead us in the resist technique with Luminarte and paintable papers. We worked on the left scrapbook page in class and had the option to buy the right hand page to do at home or at the crop. I HAVE to have the companion page because most of the time I use these pages in gift albums for my friends and family (since they are beautiful but usually not my style). I now own several colors of the H2Os and have used them on a project for the Christmas holiday - thanks to my new-found organization using The ScrapRack!
 
To tell you the truth... I would be quite afraid to layer all these patterns and colors myself so it was very cool to experiment under the lead of Dollar Scrapbooking. Here's a closer look at the first page.


We were given flowers that were white with silver heat embossed patterns on them. We used different colors of Luminarte Radiant Rain Twinkling H2Os to color in a random pattern. Using a paper towel we wiped off the color that settled on the embossed parts so they would show through. I love this effect! We were each given a huge transparancy quote to use on the page. I traded with someone else who had no use for "always together forever."


This is the second page I put together at home months later. The color instructions and pictures were very helpful. The layout is stunning and very shabby chic.


So I decided to use it for a friend's baby first year scrapbook (a best seller at C'est La-Vie Designs Unlimited, LLC!). Here's how a little personalization brought across the theme.


This layout documents the 9 months of pregnancy. I used opaque and transparent epoxy pregancy stickers as well as a bling "mother" sticker. Hey! A little bling makes everything better!


On the other page, I added some more of the opaque and transparent epoxy pregancy stickers from my stash including spots for small pics of closeup belly shots at 1st, 2nd, and 3rd Trimesters. My friends loved it and will enjoy adding pictures once the baby arrives. This to me is love personified. Sharing yoru heart, time and talents with others. [ can you hear my heart singing? ]


La-Vie

Saturday, December 8, 2012

French Knots? I think not... Creating Keepsakes Scrapbook Page - CKC Lancaster 2012


At CKC Lancaster this past summer, I participated in the fast and furious 3 hr Thursday night Technique workshop. It was a huge ballroom full of straight tables and croppers learning technique after technique in approx. 5 min timeframes for each presenter.

 
The goal is not to finish the projects, but to learn a technique and move on. [I have a problem with that! I always want to finish.] It's lots of fun and stressful all at once. I love it! They gave out prizes and I won a nice chipboard banner just waiting to be embellished. I'll share some of the things I learned in the next several days.
 

As you can see, they run a tight ship... not even enough time to go to the bathroom and stretch!


We made this scrapbook page to learn how to use stitching on a layout. If you look closely there is no stitching on my layout (other than the embellishment I added later at home). "Ain't nobody got time for that!" I was toast at that point so I skipped it. The layout would've had large "X" shaped stitching here and there and some difficult french knots in the tree to make it look like apples were in it. I love it just the same... don't you?

 
In the past, when I've made layouts in classes, they would sit in my craft room unused. However, I decided to start using them for gift scrapbooks - usually for baby's first year. Here is the opening page of the scrapbook. With just 3 added elements the page is complete!
 
La-Vie

Friday, December 7, 2012

Shadowing with Copics - Clear and Simple Stamps at CKC Lancaster 2012


Here's my feeble attempt at giving you a flower basking in the sun while casting a shadow down on the ground. It's a technique I practiced in Copics class instructed by Clear and Simple Stamps at CKC Lancaster 2012. I'm sharing things I learned in classes there this month.

In this hour long class I learned quite a bit. It all started with yesterday's post. Picking up where I left off, I  learned how to 1. layer colors with Copic Trios, create a shadow, and how to erase mistakes (although it seems like I forgot to erase all mine here hmmmmm?!?) with the colorless Copic.

The best thing I learned was that I didn't have to own all the colors they list for the class. You can come with what you have and just have fun. Participants were willing to share markers. Crafters are the NICEST people....


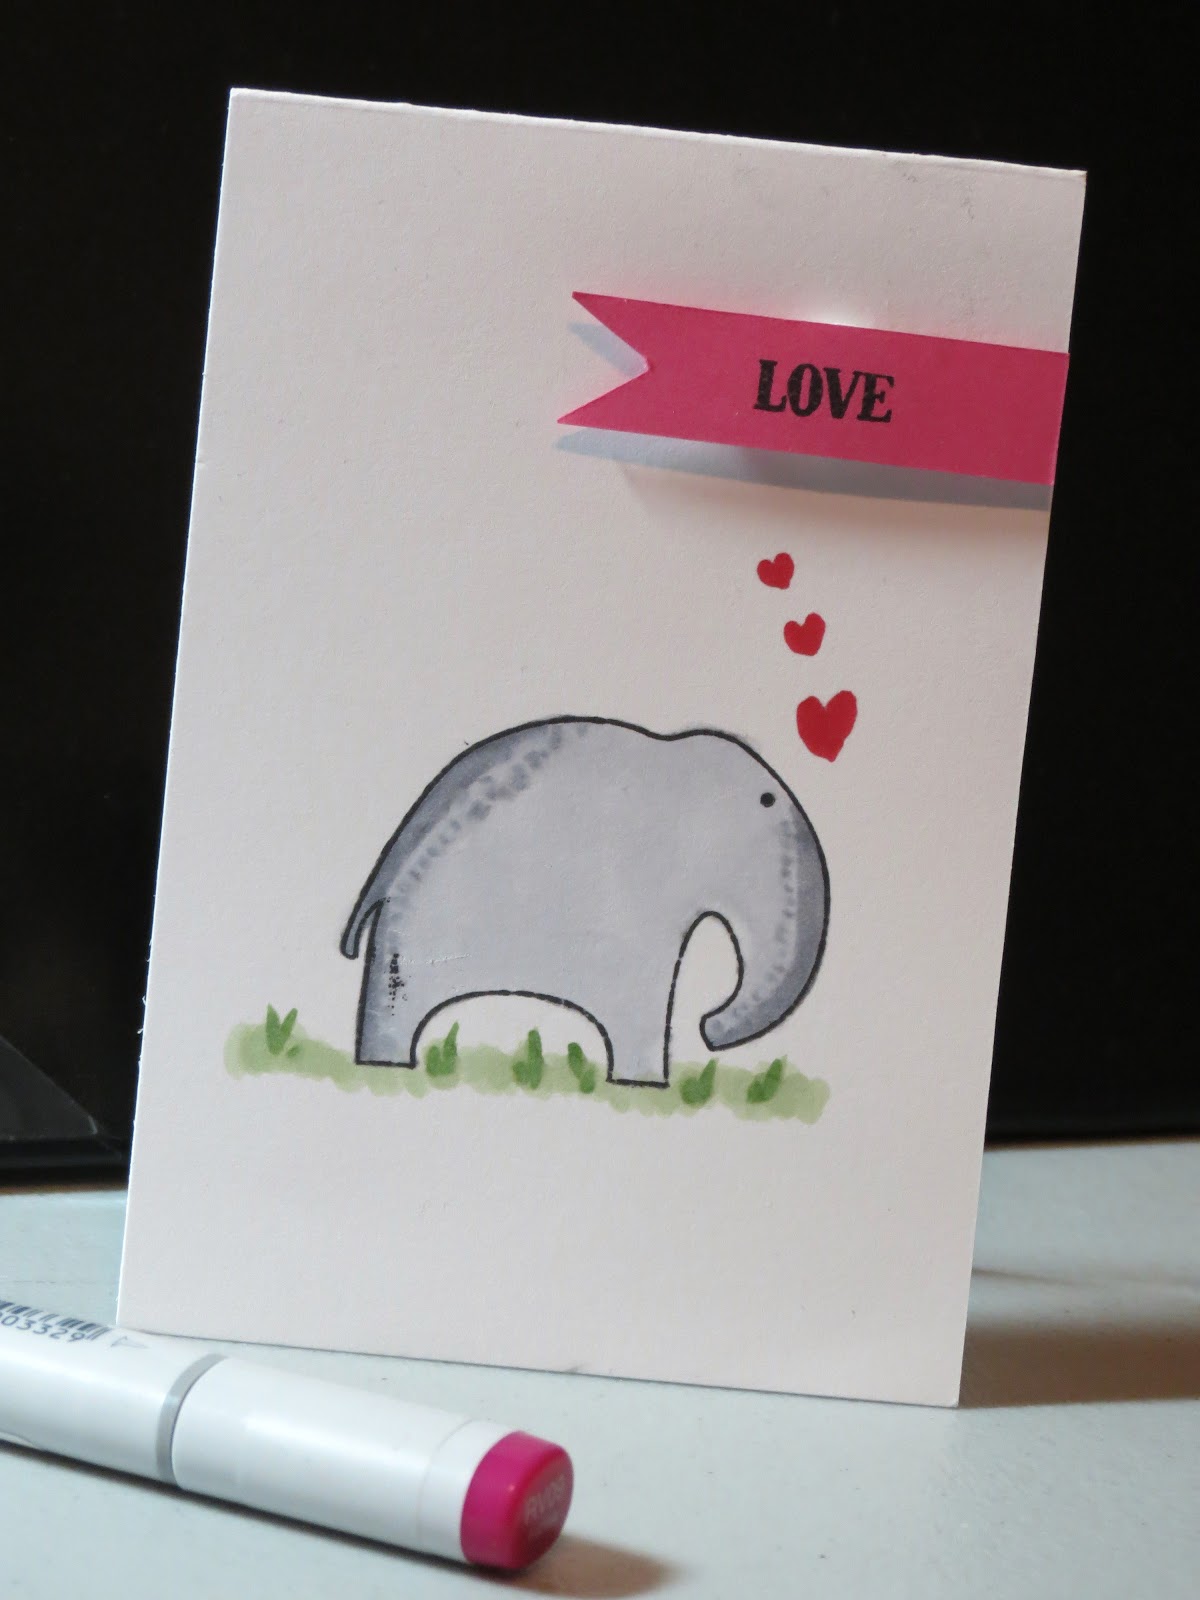
This is my favorite card of the class! We learned how to make hearts just by touching the pen tip to the paper going slightly left and again going slightly right. It was fun to try out making small details on the elephant to represent his rough skin. The darker blades of grass were made in the same fashion as the hearts. The class was laid back but very engaging. I can't wait to see what they come up with next year!

Who's got some more great Copics tricks and tips to share? Please leave a comment below.


La-Vie