Wednesday, May 18, 2011

Teacher Appreciation Gifts

Sorry I have been away so long....did you miss me? Well, I'm back with another PSA and my latest project!

I think it is very important to "show your love" for teachers that are in the trenches every day. This year was my first time since my lil darlin is in Kindergarten. One of my best friends had a great idea that we should barter and make each other's gifts. I made her occassion card packs and she made the most luxurious soaps and sugar scrubs for my teachers. To accompany the gifts, I made these cards. (out of what?....you guessed it...scraps!) And the sentiments stamped on the cards made tears well up in my teachers' eye (some at least). Mission complete!!


 Recipe:
  • Most of the card bases are made from Bazzill cardstock from my stash of scraps
  • The layers are made from SEI Poppy Paper Stack
  • The flowers were cut from Cricut Cartridge Wild Card
  • The flowers were adorned with Doodlebug Designs Inc. "Braddies" - red is called ladybug blossoms and the brown in called bon bon blossoms.  when the braddies ran out I used bling from my stash
  • To create the dimensional flower I folded each layer in half. Sometimes I used a stylus and inkadinkado stamp mat to create a firmer and straighter fold. For the top layer of the flower each petal was curled around the stylus.
  • Clear & Simple Stamps hybrid ink Simply Blue Tiful and the stamp set called Teacher was used on the outside and inside of the card
  • Thermoweb 3-D dots to attach the flower and its layers.
  • The hear and the font are from my stash. I figured it would be better than having my daughter write her name so many times.
  • All stamping was done on top of the Darice Rubber Stamp Pad which has made a WORLD of difference in my stamping.
La-Vie

Tuesday, May 10, 2011

My Pink Stamper National Scrapbook Day Challenge #1

National Scrapbook Day Challenge #1 - create anything with a Cupcake
http://www.mypinkstamper.com/2011/05/national-scrapbook-day-challenge-1.html


Damask Decor is my new favorite Cricut Cartridge! There are many cards and envelopes on this cart and that's what I am crazy about right now - making cards.

This card, envelope and layers are on page 62 and are cut at 6.25" using my Cricut Expression 2. I used Bazzill basics cardstock (another fav), stickles, the Cuttlebug embossing folder - Damask Frame. I also cut the regular cupcake design to affix to the envelope for a little extra flair. The "yummy" stamp is from my stash.

La-Vie

Challenge #2 - MPS Nat'l Scrapbook Day

National Scrapbook Day Challenge #2 - use Kraft cardstock to create a card or scrapbook page
http://www.mypinkstamper.com/2011/05/national-scrapbook-day-challenge-2.html


I love to use my scraps to make something new! Kraft cardstock was used to create the card base for this birthday card. However, the birthday message was cut previously from Cricut Imagine Cartridge Lori's Garden. I spritzed it with smooch spritz and added some bling for my stash. The frame also was an accent cut from Cricut Cartridge Wild Card. The ribbon from Celebrate It (which I love) is from Micheal's. I love to find new and interesting ways to use scraps. This card is one of the results. Please excuse me for not having any dimensions to report. But wish me luck in this contest!

La-Vie

Challenge #3 - MPS National Scrapbook Day

National Scrapbook Day Challenge #3 - make a breast cancer themed project
http://www.mypinkstamper.com/2011/05/national-scrapbook-day-challenge-3.html


This tiny card is created from a stock image in the Cricut Imagine machine. I flood-filled it with a yellow pattern from the machine. It was left over from a project I did a few months ago. I knew it would come in handy! Folded in half it makes an interesting card. The pearls, stamped font and heart eyelet are from my stash. The breast cancer symbol is made from wired ribbon - Celebrate it brand from Micheal's.

La-Vie

Monday, May 9, 2011

Challenge #4 - MPS National Scrapbook Day

National Scrapbook Day #4 - make a mother's day themed project
http://www.mypinkstamper.com/2011/05/national-scrapbook-day-challenge-4.html


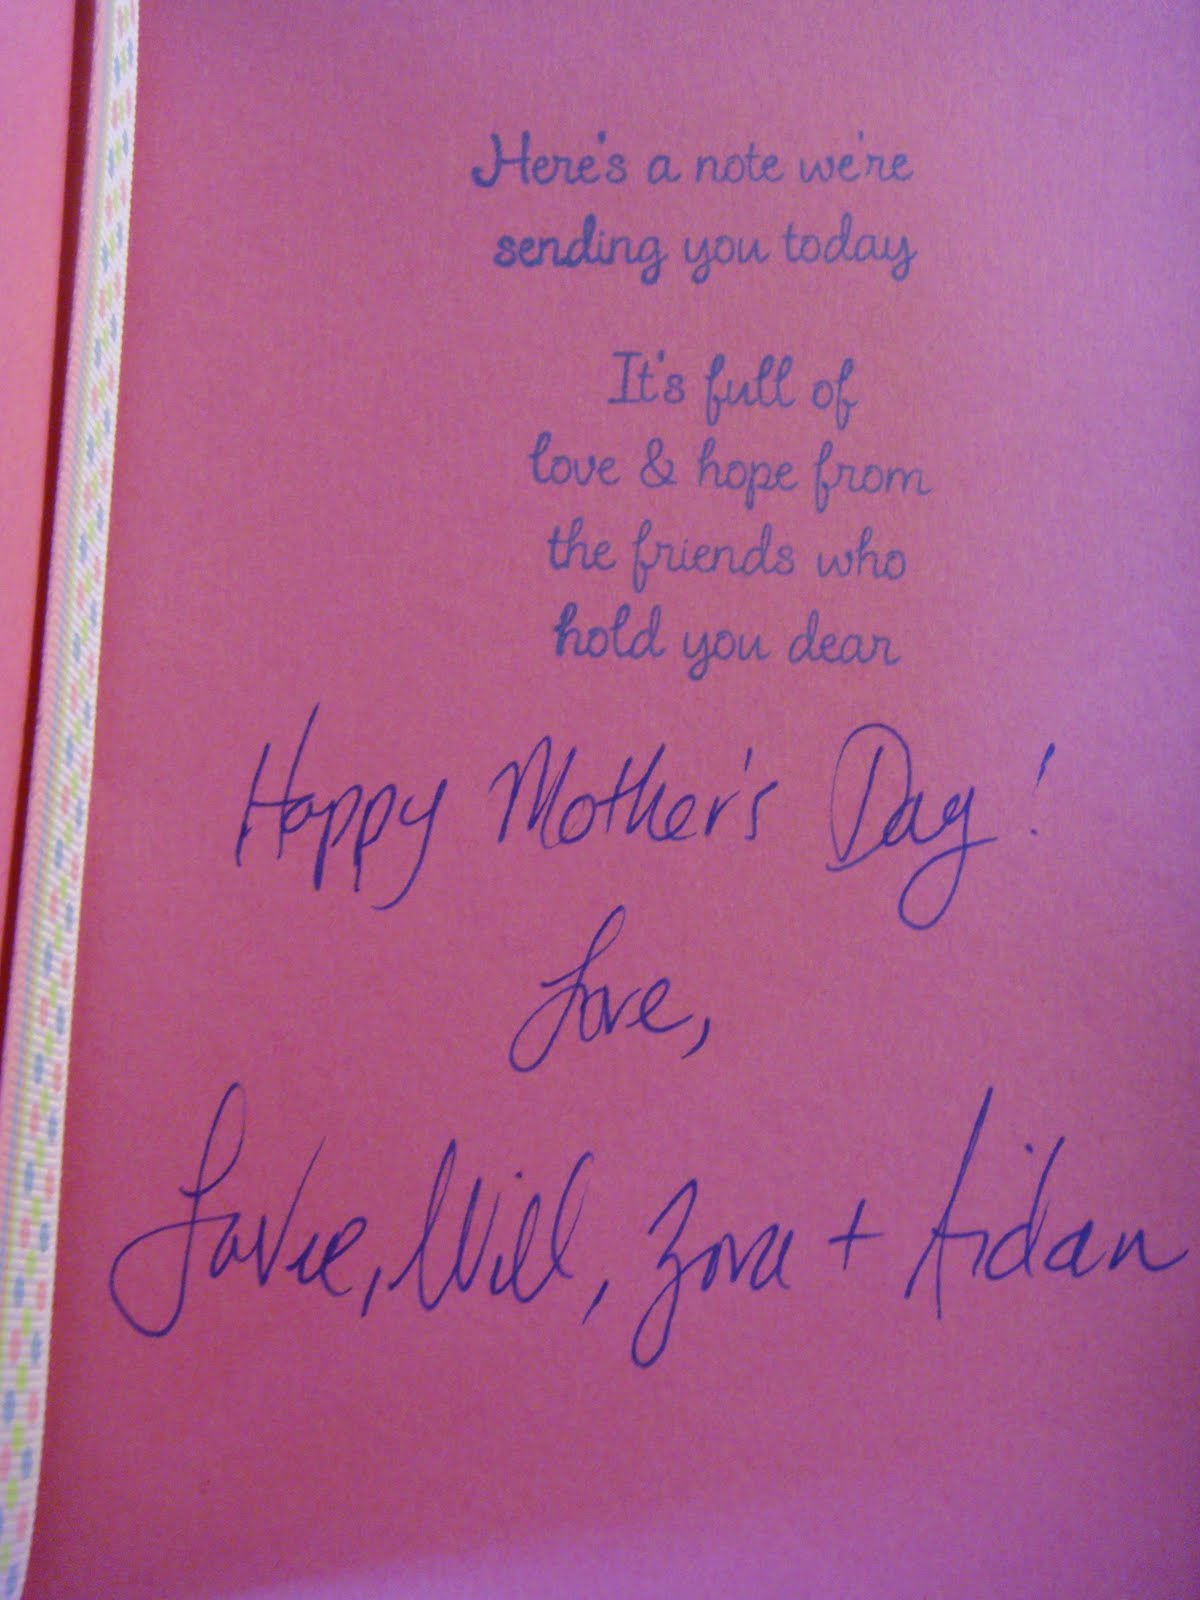
This card is made from my new favorite Cricut Cartridge Damask Decor. The card is on page 58 and was cut at 6.25" with my Cricut Expression 2. The sentiment and layers were cut from Celebrate with Flourish Cricut Lite Cartridge at 1.5". The card is made from Bazzill basics cardstock. The layer is made from patterened paper from Darcie's LLC. I love the patterned paper because it's approximately 12" x 18" long with a small white border. The stamps used on the inside of the card and from Art Gone Wild! and the ink used was Simply Blue Tiful Hybrid ink from Clear & Simple Stamps.The ribbon is from my stash. This card was used for Mother's Day cards for my friends and family.

La-Vie

Challenge #5 - MPS National Scrapbook Day

National Scrapbook Day Challenge #5 - create any 3D item
http://www.mypinkstamper.com/2011/05/national-scrapbook-day-challenge-5.html


This cute little purse (for party favors, etc.) is print and cut from Bazzill white cardstock with the Cricut Imagine, Imagine More Cards cartridge. It was very easy to score and to fold. All 4 sides and the bottom are different patterns and different colors. I added two ribbon scraps for a little extra cuteness... wish me luck!

La-Vie

Challenge #6 - MPS National Scrapbook Day

National Scrapbook Day Challenge #6 - use a tag in your project
http://www.mypinkstamper.com/2011/05/national-scrapbook-day-challenge-6.html


The card is created completely from scraps I saved. The tag is print and cut from Cricut Imagine Lori's Garden Cartridge using white Bazzill basics cardstock. The patterned paper and brad are from my stash along with the ribbon. The card base is Bazzill basics which I edged with decorative scissors.

La-Vie

Challenge #7 - National Scrapbook Day

National Scrapbook Day Challenge #7 - Make a scrapbook page
http://www.mypinkstamper.com/2011/05/national-scrapbook-day-challenge-7.html


I decided to make a page with pictures I normally wouldn't highlight. Sometimes the best  moments are found in every day reality. I created this page with the Cricut Imagine using Nursery Tails cartridge. The whole page was print on Bazzill basics white paper. I love my imagine!! I then added Gromlets to the suns to make them more fancy and a smiley face button from my stash. The mat is Die Cuts With A View adhesive mat stack and the ribbon is from my stash.

La-Vie

Challenge #10 - MPS National Scrapbook Day

National Scrapbook Day Challenge #10 - create a layout or card with a pet on it
http://www.mypinkstamper.com/2011/05/national-scrapbook-day-challenge-10.html


This card was printed and cut using:
Cricut Imagine - Best Friend Cartridge
Bazzill white and blue cardstock
Die Cuts With a View Adhesive Mat Stack
ribbon from my stash

La-Vie

Challenge #11 - MPS National Scrapbook Day

My Pink Stamper Challenge #11 - Make a project using pink, green, black
http://www.mypinkstamper.com/2011/05/national-scrapbook-day-challenge-11.html


My submission is made from scraps and ribbon in my stash. Surprisingly I did not use my Cricut in this challenge. The black layer is punched with an EK Success punch I found at Marshall's this week (mega find!!). The white layer on the card and the ribbon are from my stash. The glitter sticker font is by EK Success - Sticko.

La-Vie

Challenge #12 - MPS National Scrapbook Day

This past Saturday was national scrapbooking day. My Pink Stamper posted challenges hour by hour throughout the day. The big prize is a Cricut Imagine machine, however there are several great prizes available. Luckily, she is allowing everyone who wasn't able to participate on Saturday to enter the contests today by 1am EST. There were 12 challenges in all and I created projects for 10 of the challenges in under an hour for each one. The sad part is that I did not get a chance to upload all my creations. The time ran out on me. But I had fun so it was worth it!

Challenge #12 - create a scrapbook layout, card,  etc. with a kid's theme http://www.mypinkstamper.com/2011/05/national-scrapbook-day-challenge-12.html


My daughter started playing soccer with a YMCA team recently, so I created this decor for her room. The background was printed and cut using the Cricut Imagine and Nursey Tails Cartridge. This is a scrapbook page that I printed a third of the size. The soccer girl was cut using the Cricut Expression 2 from the internal cartridge Cricut Decals (pg 33 sports II). I used Bazzill basics paper in white and pink. The star power stamp is from my stash.


La-Vie

Tuesday, April 26, 2011

National Exposure on HSN today 11am viewing!!!


Ok!! I am so so soooooo excited that one of my 2 layouts was shown on HSN today by Jinger spokeswoman for Provo Craft. My layout is the first one she is holding of the robot. I am super psyched to see my hard work on national TV!!! I am walking on cloud 9 and I almost shed a tear...

Yes, I took pictures of my tv too! I am over the moon!! Check out my original blog post with the robot layout http://cestla-viedesigns.blogspot.com/2011/04/provo-craft-birthday-layout-challenge_23.html  and here is the other girl themed birthday layout I submitted  http://cestla-viedesigns.blogspot.com/2011/04/provo-craft-birthday-layout-challenge.html


La-Vie

Monday, April 25, 2011

Cricut Expression 2 - 5th Anniversary BIG Giveaway!

http://www.cricutholiday.com/2011/04/enter-here-to-win-new-cricut.html

Joy and Melanie at Everyday Cricut blog are giving away the new Cricut Expression 2 tonight! There is still time to enter. They have offered ways to gain 26 entrires to the contest! Check it out ASAP and get to work! This is actually one way I am entering the contest by posting this message to my blog!

La-Vie

Saturday, April 23, 2011

Provo Craft Birthday Layout Challenge - Cricut 5th Anniversary


I am excited to share my second layout submitted to the contest. It is a challenge for me to do boy layouts because I started scrapbooking for my daughter. This Birthday Boy layout is my greatest page yet! The robot is cut from the Boys will be Boys Cricut cartridge - pg 64. I used the fit-to-page button which cut at 11 1/4". Die Cuts With A View - the Metallic Stack (silver). The black layer is cut from the same cartridge at 10 1/2". The robot's clothes are cut from stripped paper from Darcie's Country Folk.

Recipe

  • The base layer is blue bazzill premium cardstock
  • The eyes of the robot are made of white Bazzill premium cardstock and large google eyes from Hobby Lobby
  • The gift is cut at 3" from Create A Critter cartridge pg 27 from Die Cuts With A View paper. It was cut with the real size dial on.
  • Birthday - cut from American Crafts foil cardstock and Create A Critter cartridge pg. 27. Boy is cut at 1 1/2" from Graphically Speaking Cricut cartridge pg 41 with the jumbled button on.
  • The mats on the robot's body are cut from Die Cuts With A View safari kids matstack
  • Balloon and Party hat layer are cut from Create A Critter at 5"
  • eyelets, white paper clips, blue brads and metal arrows, brown twine and white wired pompom ribbon are from my stash
La-Vie

Friday, April 22, 2011

Creative Critterz Imaginations Blog Easter Challenge


I'm throwing my hat....oops my project in the ring for the Creative Critterz Imaginations Blog Easter Challenge. Wish me luck, this little card was made with Nursery Tails, Cuttlebug swiss dots and ribbon from my stash.

La-Vie

Provo Craft Birthday Layout Challenge - See this layout Live on HSN


This is the big one y'all! It's the 5th Anniversary of Cricut and Provo Craft is launching the Cricut Expression 2. They called for birthday layout subnmissions to help with the launch and I entered two layouts. They will use some of the layouts while showing the new Cricut on HSN. There are 5 showings starting at midnight on Monday. I am taping it all and am fully expecting to see my layouts on tv! But the best part is they will judge all the layouts received and choose 5 winners to receive the new Cricut Expression 2!!! I am super excited!

My first layout is called - Happy Sixth Birthday - it was a true labor of love and a tribute to my oldest daughter who turned 6 this year. She also is the reason I began scrapbooking. When she saw this layout she said "Aww mommy this will definitely make it on tv!" I almost shed a tear...


This is a close up of the title. It was cut from the Celebrate with Flourish Cricut Lite Cartridge from Walmart at 3.5" with different colored papers. I added Glam Pink Stickles for that extra oomph!


The six border was cut from Cricut Cartridge Graphically Speaking pg 73 with the fit to length feature on and set to 9 3/4" (which cut the border at 2.5" wide). The paper is from Die Cuts With A View. I added Glam Pink Stickles to the word six to accentuate it as part of the title.

Recipe (in addition to what I already mentioned)
  • 12x12" pink patterned paper (my stash)
  • flower paper lace - Cut from Wild Card pg. 40 "icon" with fit-to-page on - using Die Cuts With A View glitter stack - yellow
  • Martha stewart punch - cheers colored with Copics (B05, Y06, RV13)
  • Picture mats - Die Cuts With  A View Safari Kids Cardstock matstack
  • mat inked with Clear & Simple Stamps Hybrid Ink (paint the town pink)
  • balloon - Celebrate with Flourish cartridge cut at 3.25"
  • ribbon form Micheal's - Celebrate it basic-basic
  • tools/adhesives: Provo Craft Cricut toolkit, Creative memories corner rounder, Scotch Pink ATG gun, Zig squeeze & roll 2 way glue pen, EK success 3D dots
La-Vie

Thursday, April 21, 2011

Cricut Circle Weekly Challenge #29 - Handmade flower challenge


This week's Cricut Circle challenge was to create handmade flowers using the Cricut or Cuttlebug on a project. I started with pink Bazzill premium cardstock. The card folded measured approx 4 1/4" x 3 3/4". I added a leaf layer from Sei Poppy paper stack. I then created two handmade flowers cut from the Wild Card Cricut Cartridge from patterned paper. I used the fiskars stylus to score the leaves and bend them in and up for a more realistic look. I then layered 2 different colors and sizes of the same flower. To finish it off, I fastened the flowers with Doodlebug Designs Inc. braddies - red: ladybug blossoms, brown: bon bon blossoms. The flowers were attached to the card strategically with Thermoweb zots 3D glue dots. It didn't seem complete so I added some wired silk leaves from my stash. Versamark and the blossom border stamp from Repeat Impressions finished of the bottom of the card. The sentiment is from my stash and was stamped in Clear & Simple Stamps Hybrid Ink - Espresson Your Style. The stamped impressions were made easily on top of the Darice rubber stamp pad. It is thick and gives the stamp a flexible surface to stick into. And Voila!

La-Vie

Thursday, April 14, 2011

Cricut Circle Weekly Challenge #28 Creepy Crawlies Challenge

The rules: create a scrapbook page about the things that bug you and use a bug somewhere on your project. Include at least 2 Cricut cuts.


My layout entitled Party Time, is about how it bugs me to have to go home when I am dressed up and out with friends. I printed and cut two borders and an owl with my Cricut Image machine. This simple layout was out together by layering cardstock, paper and stickers from my stash. The flower is punched from metallic papers. Wish me luck!!

La-Vie

Wednesday, April 13, 2011

Cricut Circle Magazine March Spring Cleaning Contest

Today I am entering the March Cricut Circle Magazine Challenge. They are looking for unique ways we store our Provo Craft machines and accessories. We had to showcase at least 4 different products and how we store them. I have shown more (just in case). I would love to win a challenge! Wish me luck!


My first storage solution is for my growing collection of Cuttlebug embossing folders. This idea came from a blog I follow The Paper Boutique and she got it from yet another person's blog. As soon as I read the post I went to my craft room and created mine. I used a file folder cut from Cricut Cartridge Graphically Speaking pg 59. I cut it at fit to length at 10 1/2". I had to cut off 2 1/2 " from the end and used my corner rounder from creative memories. I then embossed the image of each folder on the front so I could see how it looks. It really makes a difference when I am looking for that special something.


I keep my Cricut Expression and my Cricut Expression on a desk and I add my cuttlebug as needed. I store my mats and 12x24 Cricut Cardstock on the keyboard tray underneath. That way my long cardstock doesn't get bent or crumpled.


This is my favorite new storage item. Scrap 'n Tote from ContainYa Crafts. I have three that fit all my cricut cartridges. Each binder holds 36 cartridges, books and overlays. It's very handy. I can see everything I have at a glance.

the clip it up is in the upper left hand corner

Lastly, I love my clip it up by Simply Renee shown at the upper left. The two-tier carousels spin around and I have all my embellishments categorized. I keep my Cricut cutables, Cricut tools, ribbon etc. in the white and gray bins on the left bottom a system from Office Max. Lastly, I bought the paper storage system from Jo-Ann fabrics where I keep paper sorted by color, theme, style etc. All of these storage ideas keep my ideas flowing and my frustration low.

~La-Vie

Thursday, April 7, 2011

Cricut Circle Weekly Challenge #27


Today I am entering a contest with the Cricut Circle called "make a game plan." It challenged us to create a sketch before making our project. I created my sketch on the back of an index card. I wanted to create something I hadn't before and use medium I hadn't previously used. For me, this was a 2-for. I created an Artist Trading Card that I will trade at a craft expo this weekend. The Theme is "The Quilting Bee." Since I know nothing about quilting or sewing, I resarched this theme and found out that way back in the day, women congregated to hand sew quilts. I am representing the artistry and social aspect of the theme on my card.

ATC cards must be the size of a baseball card 2.5" x 3.5" include the main images on the front and include specific contact information on the back. I started with my sketch, deciding that a quilt is made of squares. I wanted to fit 9 squares on the card. I also decided to add images to represent the women on top of the quilted squares thus the long images on top.  The sketch was a spring board for creating the ATC. I added additional elements as needed along the way.

I decided to use thin, yet sturdy metal as the base for my card. I have had this in my stash for quite some time and hadn't used it. To add dimension and to bring across the theme, I embossed it with the cuttlebug argyle folder which showcases squares and stitching. I then cut squares of fabric less than one inch and hand sewed them together with blue thread. It was quite a feat. I don't know how those ladies do it! Keeping with the theme I added decorative stick pins and a printed spool of thread and needle printed and cut with the Cricut Imagine. The women were cut with the Cricut Expression machine and sprayed with frost shimmer spritz. I love a little bling or shimmer on my projects! Lastly, the title was added to the back and my information. This is 1 of 1 and original...

The sketch gave me a road map to use as I created my materpiece today. The Cricut Circle is giving away great prize selections too! The winners are randomly chosen so wish me luck! I really want to win something....

Recipe
  • 2.5" x 3.5" metal sheet
  • embossed with Cuttlebug embossing folder - argyle
  • 5 different fabric patterns
  • Cricut Cartridge - A Child's Year - Pilgims 2.75" (one regular and one using the flip feature)
  • Cricut Imagine Cartridge Imagine More - printed and cut - spool of thread .7" and "a stitch in time" .4"
  • Black cardstock
  • Tsukineko sheer shimmer spritz - Frost
  • Blue thread
  • Pins from my stash
La-Vie

Monday, April 4, 2011

Thank you card - Stamp La Jolla and Just for Fun


I love tools that allow me to create a card on the fly. This one was created for a neighbor who brought me the nicest house warming gift when we moved into our home last year. One of my favorite stamp companies, Stamp la Jolla http://www.stamplajolla.com/ is the maker of the thank you stamp used on this quick card. If you look closely, you can see a hint of a floral image on the front of the card. I used an ink that creates a watermark look - Versamark. The floral stamps used are from another favorite stamp retailer Just for Fun http://www.jffstamps.com/. I also used versamark on the inside of the card with the small flower stamp from my stash. The punched design around the card is from a Martha Stewart punch around the page product and the ribbon is from my stash. Using an opaque white gel pen to write inside a dark card always does the trick. Inkessentials makes a great one. The corners were rounded on the sentiment using the best corner rounder on the market from Creative Memories.

La-Vie

Sunday, April 3, 2011

Wedding Invite & Placecard

A friend of mine asked me to create a wedding invitation for her parent's surprise 30th wedding anniversary. This would be their vow renewal and a very special one because their first marriage was performed by the justice of the peace. It was an honor and a priviledge to be a part of their love celebration.


As this was my first paying customer, I learned a lot about what it takes to craft for a living (the good and the bad). With a tight deadline, color changes, design issues I had my share of hair pulling moments. However, in the end, I am very proud of my work and can definitively say I can take my passion and put it to work!


It was an emotional experience for me as I have not worked outside the home in a few years. Taking care of my children is the most important job I'll ever have. However, there is something about earning your own money. That intangible feeling of freedom. Tasty... Anyhow, when I delivered my finished product the customer cried at how beautiful they were to her. That made me cry because it was touching that someone could be moved by my handiwork and that I had made some money independently. Then when her parents learned of the big day by receiving my invitation, her mother cried. wow wow wow! God is good. I have received many customers and blessings since I made this invitation. The start of it all...


Here's the recipe


50 Invitations:


  • 8 1/2" x 11" black premium cardstock - the paper company - bought from A.C. Moore

  • 8" x 5" silver inside layer - american crafts foil cardstock - bought from A.C. Moore

  • 7 3/4" x 4 1/2" plumberry inside layer - open stock paper - bought from A.C. Moore

  • 7 1/2" x 4" white inside layer 110lb cardstock with lazer printing done at Staples copy center

  • text layout done in MS word

  • silver eyelets 3/16" - recollections - bought at Micheal's

  • ribbon - wine - 12" offray spool o' ribbon

  • 5" x 7" Cuttlebug embossing folder from love is in the air 6 piece set bought from Hobby Lobby

  • white invitation envlope with silver foil lining - bought from Staples


100 Reception Placecards


Except for the black layer, the placecards were made from the left over scraps from the invitations. the customer applied white address labels with the name of the attendees and their table number


  • black layer - cut at 4" from Plantin Schoolbook Cricut cartridge pg 80 (shift and shadow applied)

  • silver layer - 3 1/4" x 2"

  • plumberry layer -2 3/4" x 1 1/2" cut from Plantin Schoolbook pg 74 (shift applied)

  • embossed with Cuttlebug love is in the air folder

La-Vie

Friday, April 1, 2011

Forever Young card

To brighten my little sister's day, I created this stylish card. The image of the fashionista made me think of her. I love making quick cards with ribbon, simple embelishments and a nice sentiment inside. I love this Cart because it has very girly images and silhouttes of women wearing dresses etc. Recipe: Cricut Cartridge Forever Young - lady and clothing cut at 4" Martha Stewart Punch Around the Page - Bubble bath Orange cardstock and red ribbon from my stash foam tape La-Vie

Thursday, March 31, 2011

Family Scrapbook page


My daughter asked me to craft with her and we decided to do a layout. She chose the images for all the members of our family from the Cricut Cartridge Everyday paper dolls. My daughter picked all of the outfits and accessories. We used paper with a raised image in the background and patterned paper. The layout was brought together with "thickers" black leather letters. I added a picture from our vacation, stickers, journaling and placed it into a scrapbook frame. Voila! Instant home decor.


Recipe


dad cut at 4"

mom cut at 3.5"

sister cut at 3"

brother cut at 2"


La-Vie