Showing posts with label Glamor Glitz. Show all posts

Friday, December 5, 2014

Day 12 (of 12) Days of Christmas - Snow Diamond Layered Ornament

It's day twelve of the Honeybearz Designs Annual 12 Days of Christmas Blog Hop!! 


Today is the final day!! Thanks for hanging in there with me! I have posted 12 days consecutively along with a bunch of talented bloggers and guest designers. 


What's in it for you? Well... boundless inspiration, generous craft companies/sponsors and giveaways galore! 


If you've arrived here form Miranda's blog you're in the right place! If not please feel free to start from the beginning of the hop by clicking here.

Comment on all the blogs in the hop to be entered to win some amazing blog candy from our sponsors and me! Check out my sidebar for the complete list of sponsors. And for a chance at a crafty grab bag of goodies from me, follow me on all social media. Leave me another comment telling me where you followed me and your username so I can follow you back. Here are my links:
  1. Pinterest
  2. Instagram
  3. YouTube
  4. Facebook
  5. Twitter
  6. Follow me on blogger or Bloglovin - links on my sidebar.
Guess what??????? SURPRISE!! It's not a card! Woo hoo!
I actually made a multi-layered ornament for my tree.  Although it is colored with distress inks in an ombre fashion, (darkest on the bottom layer and lightest on the top) it did not show well on camera. 


Here's a closeup of my ornament. The single stamp used to create this snowflake is Holly House Originals - Breckenridge Snow Diamond. I stamped it 7 times and cut out different aspects to create the layers. The bling on all layers of the ornament really makes it sparkle and shine. It's my fav part!


Santa loves my ornament and wanted to tell you so himself. Ho! Ho! Ho! 

And here's a tip for ya! To make sure your ornament hangs properly, use a tiny attacher to connect your ribbon pieces before adhering the ribbon loop to your ornament. Once it's attached, twist the ribbon into place and staple it once more to make sure it will always show in the front position.

 Supplies:

  • Holly House Originals - Breckenridge Snow Diamond
  • Ranger Archival Ink - jet black
  • Recollections - 110 lb white cardstock
  • Tim Holtz Distress Ink - Faded Jeans, Peacock Feathers, Salty Ocean, Tumbled Glass, Stormy Sky, Broken China
  • Nicole Heat tool
  • Elizabeth Crafts spring action (fussy cut) scissors
  • Glamour Glitz - crystal oval hotfix 8mm x 4mm (bling)
  • Sparkle style Acrylic gems - 6mm round cab crystal
  • Glossy Accents
  • American crafts ribbon
  • Tim Holtz tiny attacher, round ink blending tool
  • Terrifically Tacky Tape
  • The Paper Studio - round foam tape


I just LOVE the dimension! Don't you? Each layer is raised on foam tape.

Thanks for hopping by! Don't forget to leave me a nice comment to be entered into the drawings. Good luck and please hop next to Sandy's blog!!

The entire lineup for today is:
Guest Designer - Connie- http://conniecancrop.blogspot.com/

2. Scrappin Madge ~ www.thescrappinlounge.com

15. Miranda - www.nanasscrapspot.com/
YOU ARE HERE 16. La-Vie Borde-Perry ~ http://www.cestla-viedesigns.blogspot.com/

Thanks for hanging in there with me all 12 days. It's been a blast and your kind comments on my work were priceless! Thanks for following me on social media too! Its awesome to see my counts increase! Stay tuned for my big giveaway reveal in the next week or so.


La-Vie

Wednesday, October 22, 2014

My Mind's Eye Chalkboard Christmas Cards and Stamplistic Envelope Dress-Ups for Operation Write Home


When Operation Write Home sent out an emergency call for Christmas cards for the troops I decided to help. They asked for 5 cards from each supporter. I decided to make chalkboard style cards. Here's what I came up with.

The boxed cards by My Mind's Eye came embellished with a frame on the card front. Using one large stamp I completed this card by heat embossing and adding hot-fix bling.

This would not have been possible if I didn't use the mini mount from Impression Obsession to hold this large clear stamp. The clear block has a handle and is curved to allow for fool proof stamping of any image but especially larger ones.


In this version, I used the other sentiment stamp in the set to create a layer using the same techniques. The layer was then trimmed and added to the front of Recollections 100 lb. cardstock.


On all three cards I applied chalk dust to give it that true chalkboard look. I colored with a large piece of chalk on my palm and rubbed it on the cards as not to disturb the embossing. This version started with a different base card design but using the same stamp. There were 5 cards in all.


Supplies:
  • My Mind's Eye - Chalk Studio boxed card set - 5.5 x 4.25" - 3 different patterns
  • Impression Obsession - Mini Mount
  • Stampin' Up! - Embossing buddy
  • Versamark
  • Stampendous - detail opaque white embossing powder
  • Nicole heat tool
  • Recollections - Christmas sentiment stamps
  • Glamour Glitz Iron on Crystals
  • Kandi - Glitz 'n Go (to heat set the bling)
  • White Chalk
  • Zig: Wink of Stella - brown, pink, green, silver, gold, orange
  • Uniball sign white opaque pen
  • Memento Tuxedo black ink
  • Stamplistic Collection - envelope dress ups - holiday

The fun doesn't stop there!! I decided to embellish the envelopes since the cards were rather simple in their design. It took the situation from nice to spectacular (in my mind at least)! Using the 2 stamp set by Stamplistic Collection - envelope dress ups - holiday I added some festive stamping to all 5 envelopes.


The quickest way to add color and shine is to use Zig Wink of Stella brush tip markers. The key with these is to remove the black ring and throw it away once you get your pen, close it up, shake it well and then squeeze it a tiny bit until a tiny amount of the fluid gets into the pen reservoir. Then let gravity bring the solution down to the tip. If you over squeeze you'll end up with a blog on your project. Ask me how I know.....


In this closeup you can really see the subtle glittery finish of these colored markers.


And here's the group shot! It took me about a half hour to color all 5 since the areas were so tiny. Luckily the Wink of Stella have a really fine brush tip.


I hope you will be inspired to donate handmade cards to charity and to dress up those envelopes! Thanks for stopping by!


La-Vie

Monday, August 18, 2014

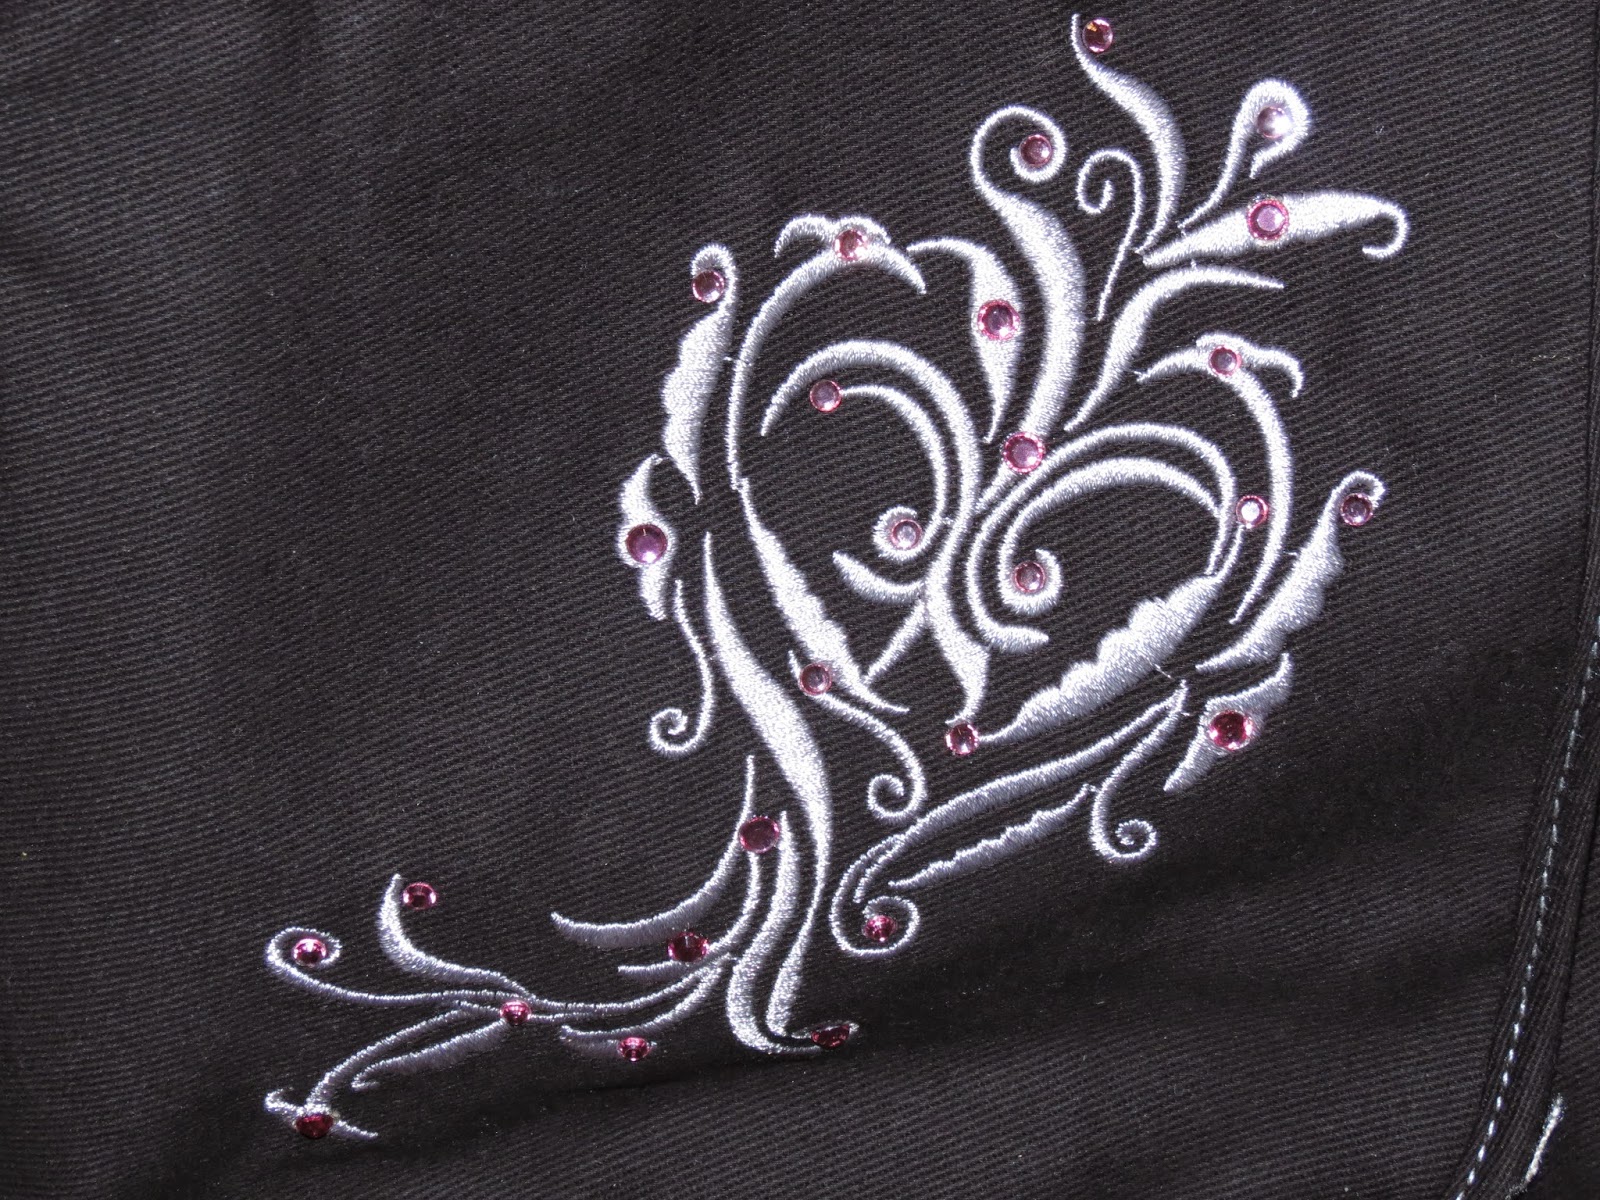
"Blinged" Messenger Bag


What are you up to today? My 4th grader wanted a messenger bag (instead of a backpack) for school this year. We found the perfect one a Kmart but I decided to bling it up with pink crystals to give it just a little pizazz since the bag is dark black.


I added Glamour Glitz iron-on crystals using my Glitz 'n Go by Kandi tool. It works with batteries and it only takes several seconds for the adhesive to melt and fuse to the fabric.


I had a package of medium and one of the small size. I really like the look of the embroidery and the bling. My daughter loves it and if anyone else gets the same bag - there'll be no denying which one is hers!

Have you ever kicked something up a notch like I did with bling or in some other way? I'd love to hear about it. Leave me a comment and fill me in chile! 

Thanks for stopping by!

La-Vie


Friday, April 18, 2014

Teacher Appreciation - Chalkboard Tag Card


Guess what? It's my birthday today!!

Thanks for stopping by today! I have a super cute set of tag cards I made to accompany the embellished cups/water bottles for the teachers and support staff for teacher appreciation. I went for a chalkboard look (although my pics don't show how smudgy they look).


I'm happy with how they came out. They open up so my kids could write a note and their names inside. I attached the cards to small gift bags with red apple brads.

Supplies:
  • DCWV - All Chalked up Brights - red chalkboard card stock; The Edumacation Stack - brown school supplies pattern, blue numbers, alpha and apple pattern
  • CTMH Art Philosophy Cricut Cart - tag card pg. 40 cut at 3.5"
  • Cricut Essentials Cart - rounded square cut at 2.25" (real dial size)
  • Clear and Simple Stamps - Rag Doll Teacher Notes stamp set
  • White watercolor pencil
  • Inkadinkado linen white pigment ink
  • The Paper Studio sticky doos- foam tape circles
  • Recollections - apple brads
  • Glamor Glitz iron on pearls - added with glossy accents
  • hole reinforcers from Dollar Tree
La-Vie

Challenges:
TBD